
Sd Kfz 234/4 (PaK40) (GE364)
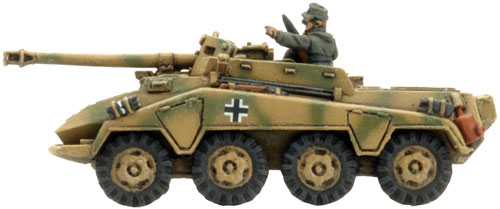
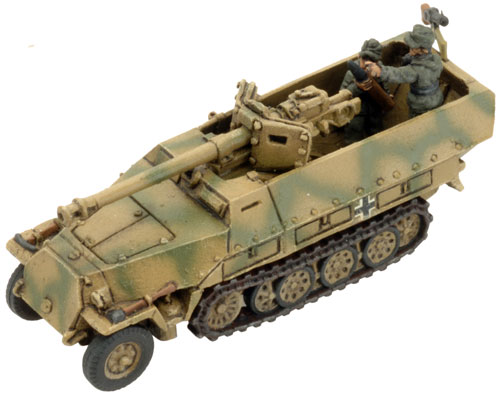
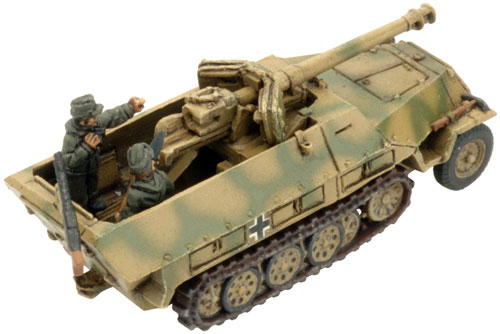
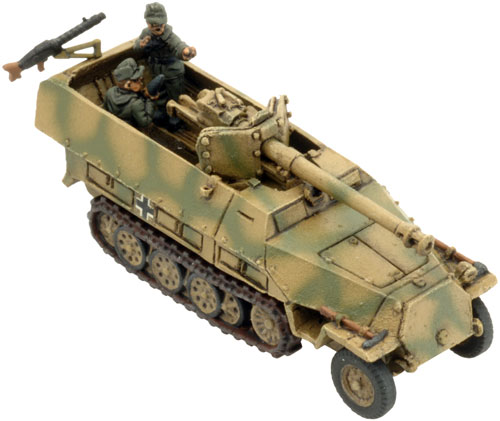
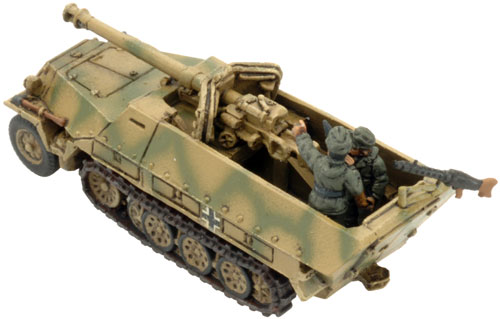
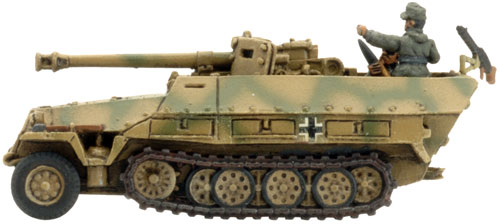
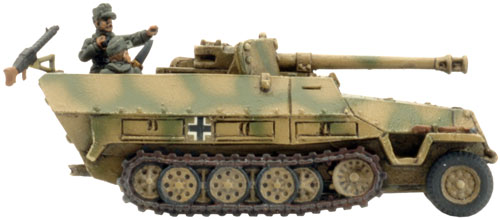
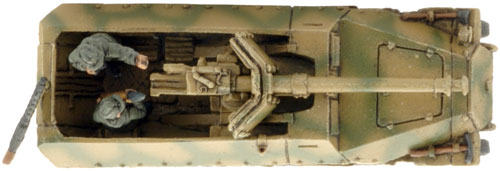
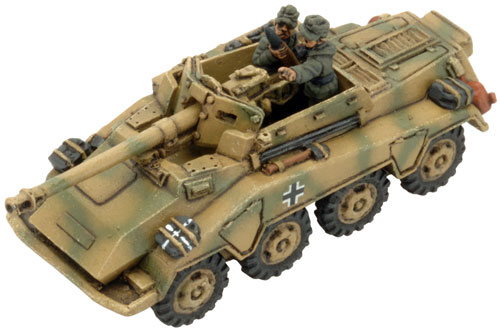 | Sd Kfz 234/4 (PaK40) (GE364) includes one Sd Kfz 234/4 (PaK40) Armoured Car & two Crew figures. For the most part German armoured car designs during the Second World War were more than adequate for the roles they needed to fulfil. However, one very common complaint from armoured car crews was the lack of sufficient firepower when forced to engage the enemy. Check out the Sd Kfz 234/4 (PaK40) in the online store here... |
| Desperate Measures! January, 1945: In the west, the German Ardennes offensive failed to achieve its goal of forcing the Allies to the negotiating table. In the east, the Germans traded ground for time, falling back into western Poland and east Prussia and establishing Festerplatz, or fortress cities. Despite the setbacks, Germany itself was still in German hands and the Allied advances had all been stopped. Learn more about Desperate Measures! here... |  |
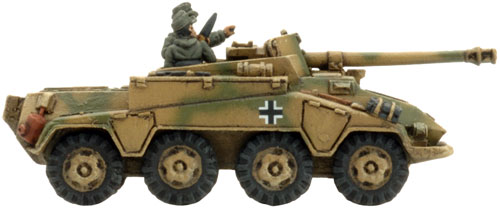
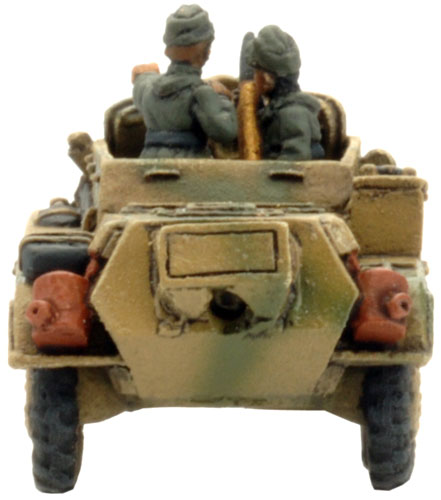
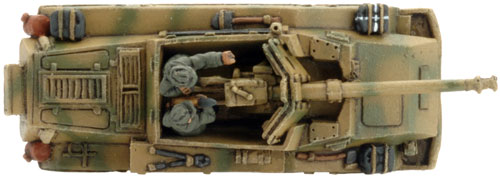
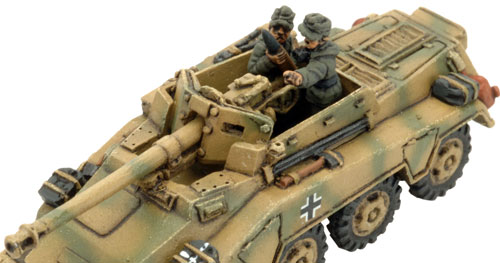
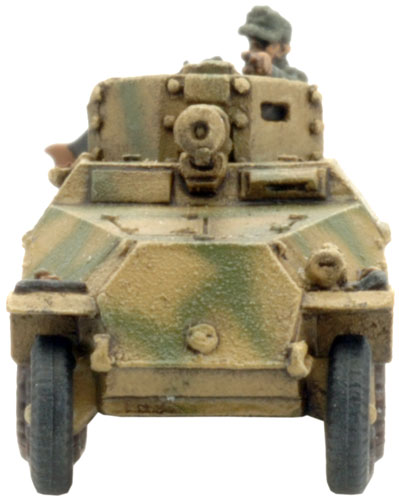
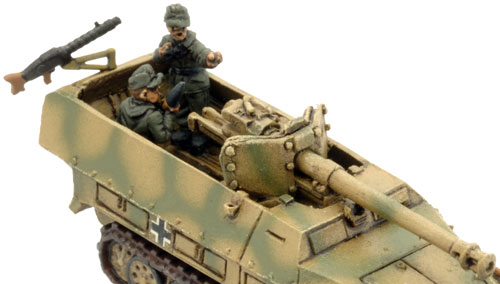
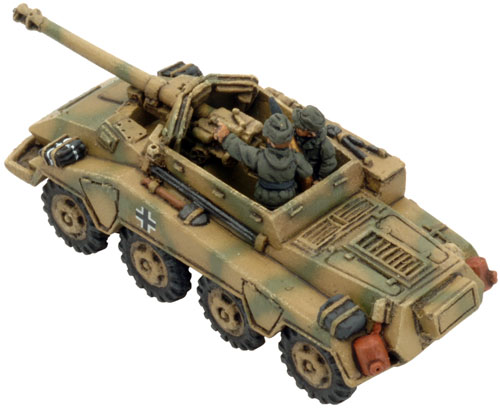 | In November 1944, Hitler ordered that the production of Sd Kfz 234/3 to cease and replacing it would be the Sd Kfz 234/4. While the Sd Kfz 234/3 featured the short barrelled 7.5cm KwK51 L/24, the Sd Kfz 234/4 was to be armed with the formidable 7.5cm PaK40 anti-tank gun. The 7.5cm PaK40 complete with gun shield but minus its wheels was mounted on a pedestal mount centre of the fighting compartment; this effectively turned the vehicle into a wheeled tank destroyer. However, the design was not without its limitations; as with any hull mounted gun, the PaK40 was severely restricted by its inability to traverse. |
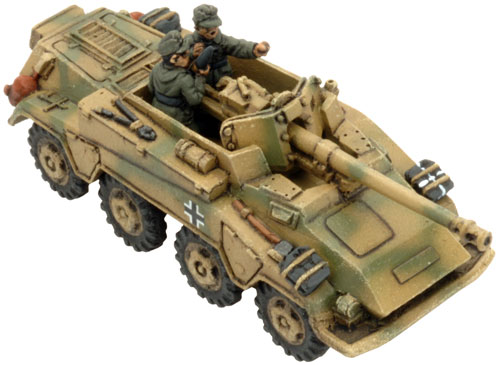 | 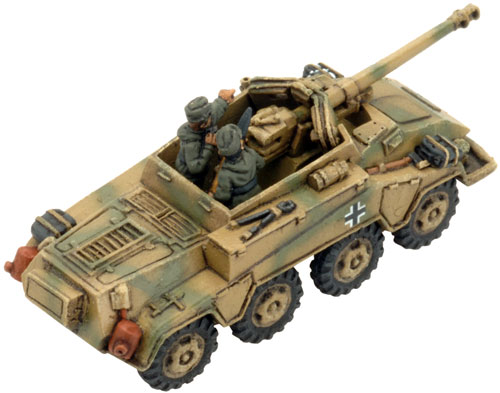 |
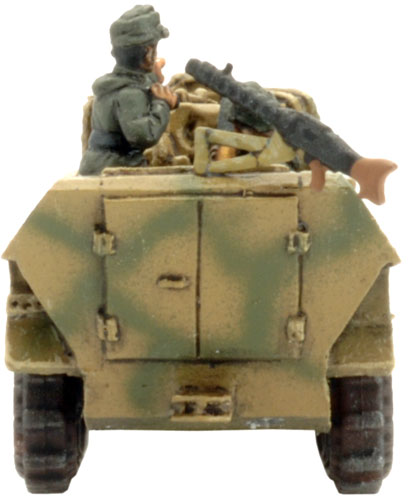
| Ammunition stowage was also an issue. Due to the size of the rounds, only twelve could to stow aboard the vehicle at any one time. If this wasn’t enough, the open topped fighting compartment left the crew vulnerable to small arms fire and shell fragments. Despite these limitations, production of the Sd Kfz 234/4 didn’t cease until March 1945. Designed by Evan Allen Painted by Victor Pesch | |
 |  | ||||||||||||||||||||||||||||||
| The Sd Kfz 234/4 (PaK40) in Flames Of War | |||||||||||||||||||||||||||||||
| |||||||||||||||||||||||||||||||
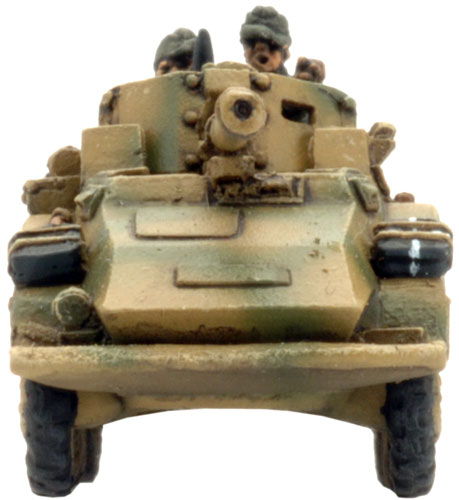 |  |
| Hull-mounted Guns Some tanks mount weapons in the front of the hull instead of in a turret to save weight or to make them easier to produce. A hull-mounted weapon mounted in the front of a vehicle has a 180-degree Field of Fire covering everything in front of a line drawn across the front of the vehicle. If the weapon is mounted at the rear of the vehicle, the Field of Fire covers everything to the rear of a line drawn across the rear of the vehicle. | |
 |  |

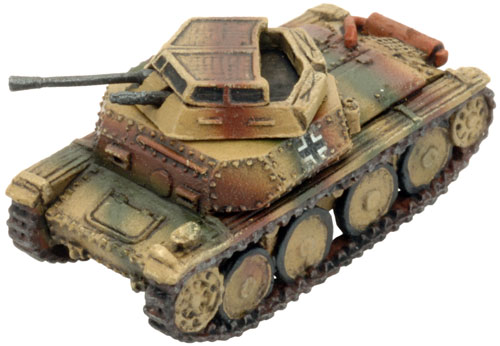


 Step 2 – Apply base colors. We paint the trousers with Dark grey 862 (Vallejo) and the jacket with German Camo Extra Dark Green 896 (Vallejo). Remember, it’s recommendable to dilute the paint with water, because you can handle it easier.
 Step 3 – Apply lights. We work the trousers with Dark bluegrey 867 (Vallejo) first and continue with Ivory 918 (Vallejo) or white. And we work jacket with German Fieldgrey WWII 830 first and then by mixing this color with Ivory or white. I usually apply 4-5 lights, but you can apply as many as you want, until you get a good contrast. Anyway, once again, I recommend working with diluted paints! Therefore transitions will be smoother.
 Step 5 – Paint details. We paint the different details. For instance, I’ve used the following colors:


 If you are interested, you can find a more complete guide, plenty of other painting tips, and information about how to paint Germans, in the recently published magazine
