Recovery Vehicles
Often it is easier, and more expedient, to simply have another vehicle pull a bogged vehicle out rather than leave the crew to fend for themselves. This greatly increases the odds of getting the vehicle unstuck and back on the move.
If a Recovery Vehicle that is not Bogged Down or Bailed Out ends the Movement Step touching a Bogged Down,
Bailed Out, or Destroyed vehicle or Gun team, it can tow them instead of shooting.
Move the Recovery Vehicle and the team being towed up to 4”/10cm. The team being towed is Freed and no longer Bogged Down. If it does this, neither the Recovery Vehicle nor the team it towed may move further, shoot, or take part in an assault this turn.
If the Recovery Vehicle is in Rough Terrain when it starts towing the vehicle, it must take a Bogging Check before towing the vehicle. |

")
")

")
")
")
")
")
")
")
")
")
")
")
")
")
")
")
 (US601)")
 (US601)")
 (US601)")
 (US601)")
 (US601)")
 (US601)")
 (US601)")
 (US601)")
 (US601)")
 (US601)")
 (US601)")
 (US601)")
 (US601)")
 (US601)")
 (US601)")
 (US601)")
 (US601)")
 (US601)")
 (US601)")
 (US601)")
 (US601)")
 (US601)")
 (US601)")
 (US601)")
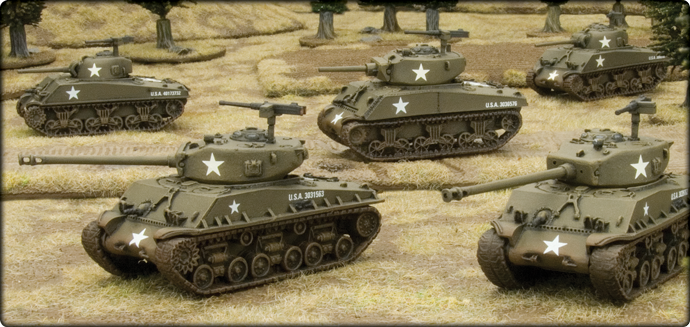
 Sherman Platoon (UBX27)")
 Sherman Platoon (UBX27)")
 Sherman Platoon (UBX27)")
 Sherman Platoon (UBX27)")
 Sherman Platoon (UBX27)")
 Sherman Platoon (UBX27)")
 Sherman Platoon (UBX27)")
 Sherman Platoon (UBX27)")
 Sherman Platoon (UBX27)")
 Sherman Platoon (UBX27)")
 Sherman Platoon (UBX27)")
 Sherman Platoon (UBX27)")
 Sherman Platoon (UBX27)")
 Sherman Platoon (UBX27)")
 Sherman Platoon (UBX27)")
 Sherman Platoon (UBX27)")
 Sherman Platoon (UBX27)")
 Sherman Platoon (UBX27)")
 Sherman Platoon (UBX27)")
 Sherman Platoon (UBX27)")
 Sherman Platoon (UBX27)")
 Sherman Platoon (UBX27)")
 Sherman Platoon (UBX27)")
 Sherman Platoon (UBX27)")
 Sherman Platoon (UBX27)")
 Sherman Platoon (UBX27)")
 Sherman Platoon (UBX27)")
 Sherman Platoon (UBX27)")
 Sherman Platoon (UBX27)")
 Sherman Platoon (UBX27)")