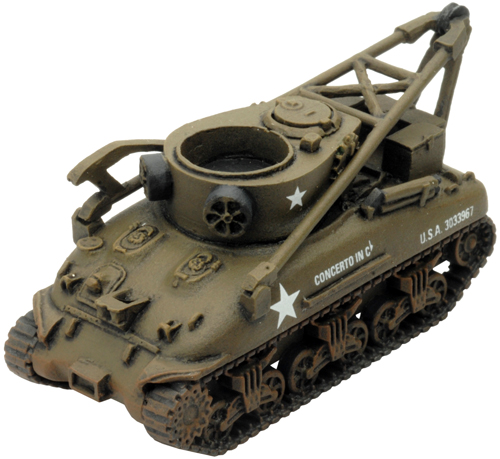
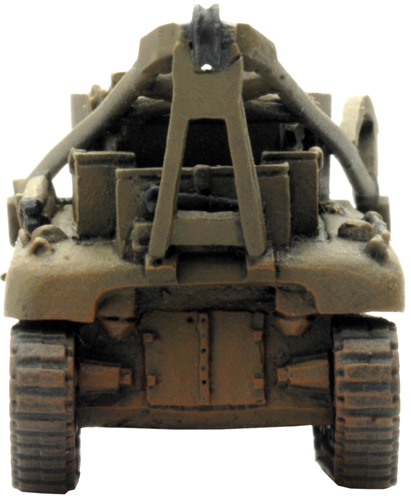
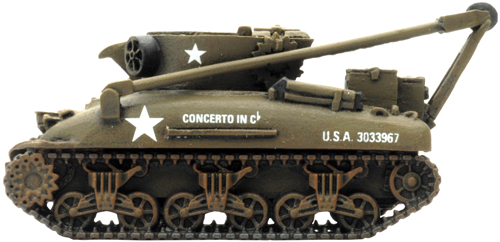
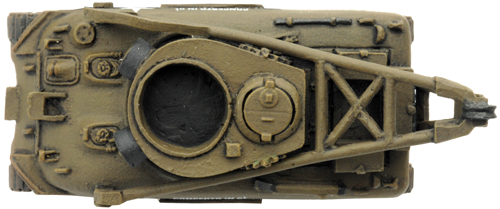
 | M32 TRV (Recovery) (US601) includes one M32 TRV Recovery Vehicle with Plastic Parts Sprue. An ARV (Armoured Recovery Vehicle) is a vehicle used to recover battle damaged or broken down vehicles during combat in order to complete more extensive repairs behind the frontlines. The first true ARVs came into being during World War Two and saw service with most nations during the conflict, the United States being no exception. Check out the M32 TRV (Recovery) in the online store here... |
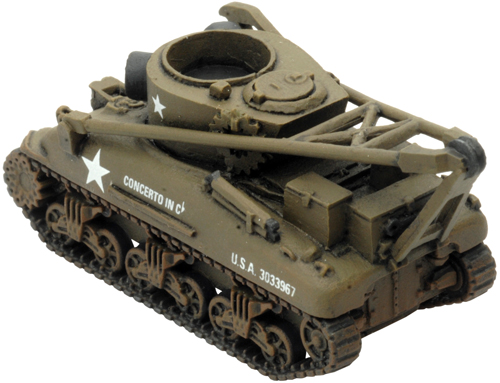 | 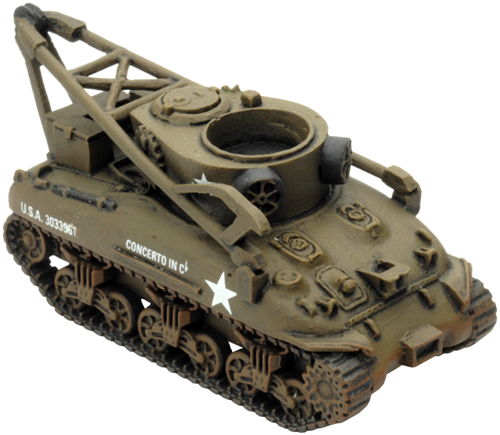 |
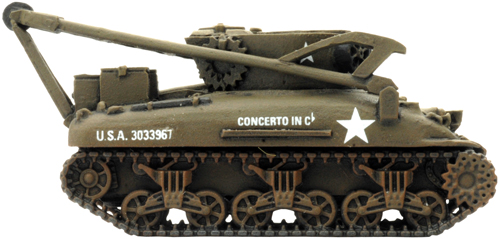
| With the common practice to covert either an obsolete design or adapt a current tank chassis into an ARV, the American answer was to convert the standard M4 Sherman to fulfil the armoured recovery role. The standard turret was replaced with a fix version and a winch capable of moving 60,000lb was fitted in the fighting compartment. An A-frame jib along with extra tow hooks and various other types of recovery equipment was also added to further assist in vehicle recovery. Designed by Evan Allen Painted by James Brown |
 | 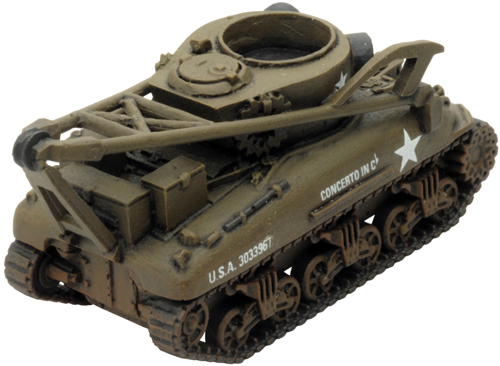 |
| The M32 TRV Recovery Vehicle in Flames Of War |
| |||||||||||||||||||
 |  |
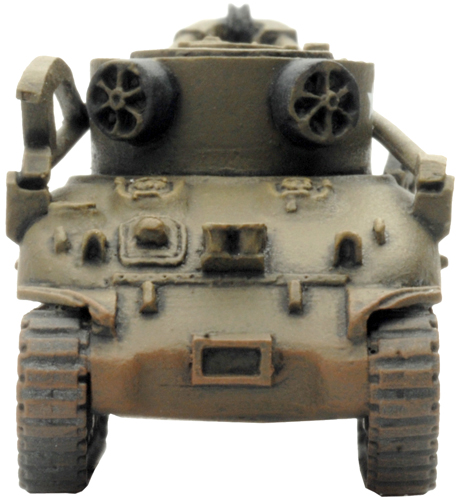
| Recovery Vehicles Often it is easier, and more expedient, to simply have another vehicle pull a bogged vehicle out rather than leave the crew to fend for themselves. This greatly increases the odds of getting the vehicle unstuck and back on the move. If a Recovery Vehicle that is not Bogged Down or Bailed Out ends the Movement Step touching a Bogged Down, Bailed Out, or Destroyed vehicle or Gun team, it can tow them instead of shooting. Move the Recovery Vehicle and the team being towed up to 4”/10cm. The team being towed is Freed and no longer Bogged Down. If it does this, neither the Recovery Vehicle nor the team it towed may move further, shoot, or take part in an assault this turn. If the Recovery Vehicle is in Rough Terrain when it starts towing the vehicle, it must take a Bogging Check before towing the vehicle. |
 |  |
| The Contents of the M32 TRV (Recovery) Blister |
| Contact the customer service team at customerservice@battlefront.co.nz if you have any issues with any of the components. |
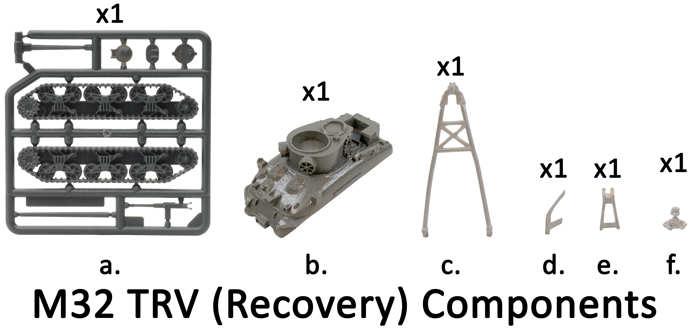 |
| Description of Components |
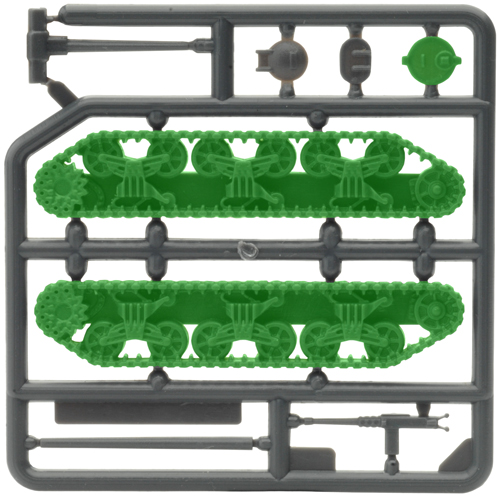
| a. 1x Plastic Sherman sprue. b. 1x M32 TRV (Recovery) resin hull. c. 1x A-frame jib. | d. 1x A-frame bracket. e. 1x A-frame rear support. f. 1x Tank commander figure. |
| Assembling the M32 TRV (Recovery) |
| Assembling The M32 TRV (Recovery) |
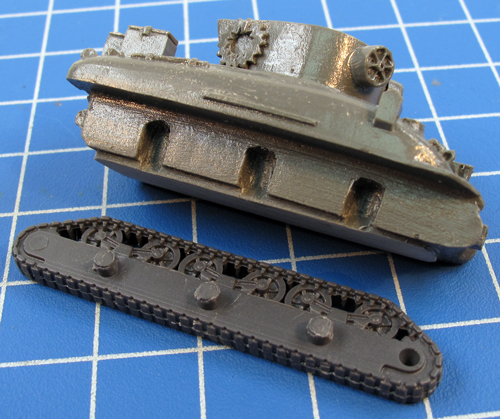
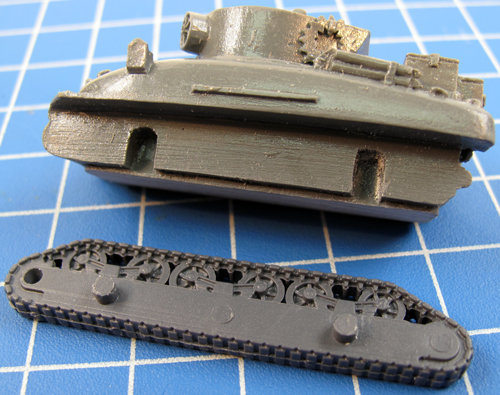
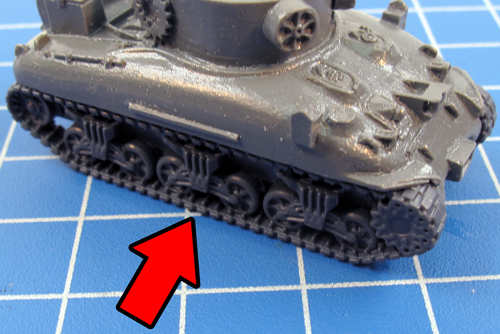
| Step 1. Begin assembly by attaching the tracks to the hull of the M32 TRV (Recovery). Note: Each track has a number of lugs on the back that corresponds with the recesses in the hull to aid in correct orientation. |
| Below: The correct alignment for the right-hand side track. | Below: The correct alignment for the left-hand side track. | Below: The left-hand side track attached to the hull. |
 |  | 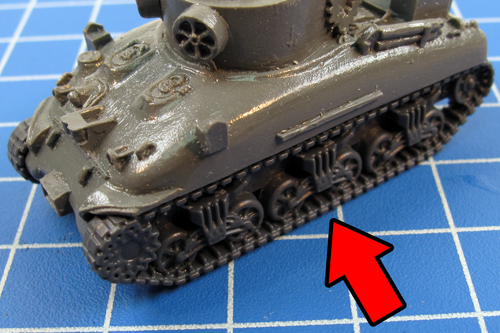 |
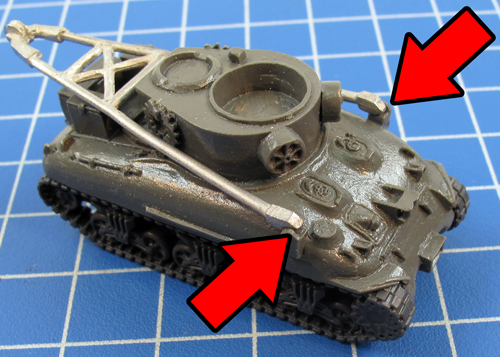
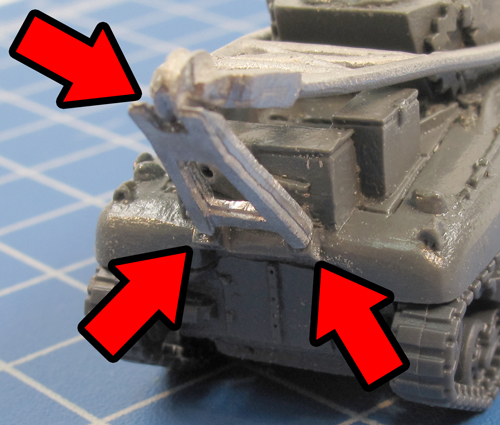
| Below: The right-hand side track attached to the hull. | Step 2. Next, attach the A-frame jin to the resin hull using the archor points shown in the example below. | Step 3. Secure the A-frame jib into place with the A-frame rear support. Secure it into place at the points shown below. |
 |  |  |
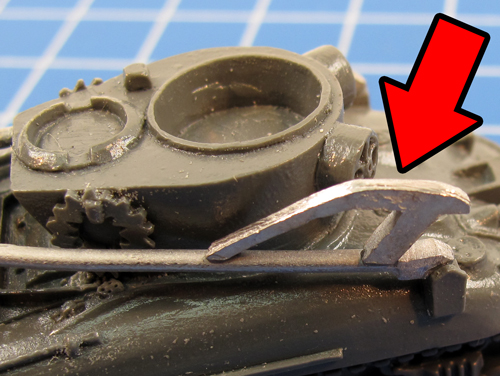
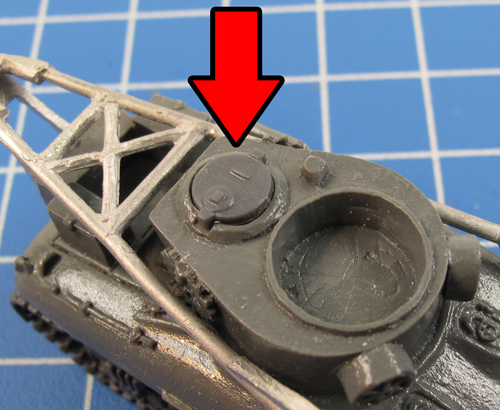
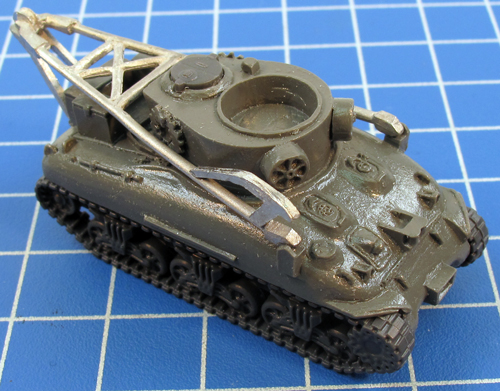
| Step 4. Attach the A-frame bracket to the right-hand side of the crane arm. | Step 5. Next, attach the commander's hatch. | Step 6. With the commander's hatch in place, the M32 TRV (Recovery) is now ready for painting. |
 |  |  |
| Adding a Tank Commander |
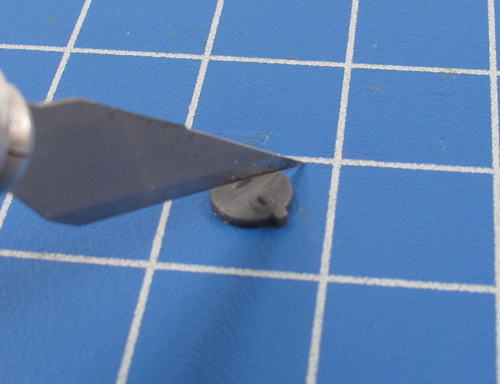
| Step 1. Cut the commander's hatch in half using a sharp hobby knife. | Step 2. Attach the two halves of the hatch to either side of the hatch recess. | Step 3. Add the tank commander figure in the now open commander's hatch. | |
 | 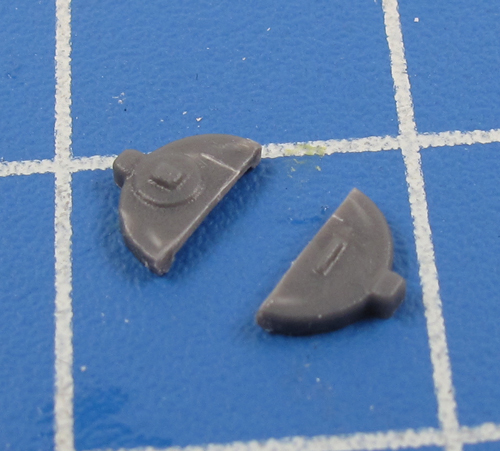 | 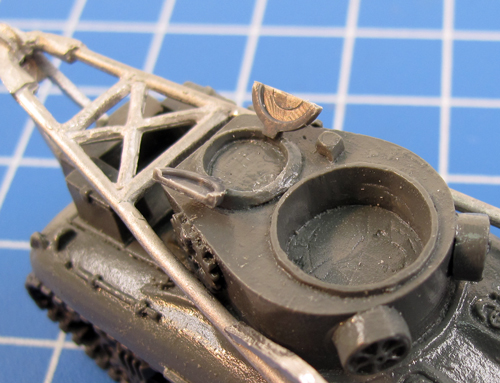 | 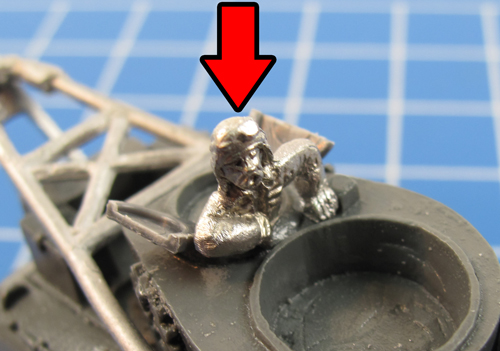 |

Ingen kommentarer:
Legg inn en kommentar