M36 Tank Destroyer Platoon (UBX30)
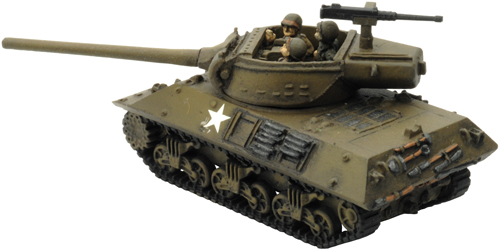
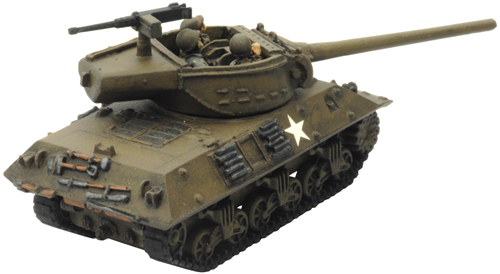
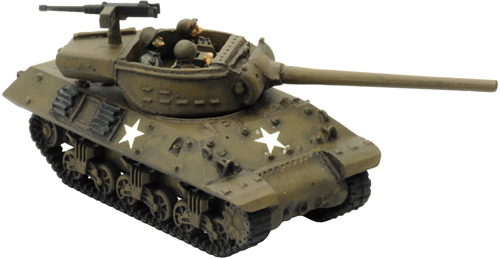
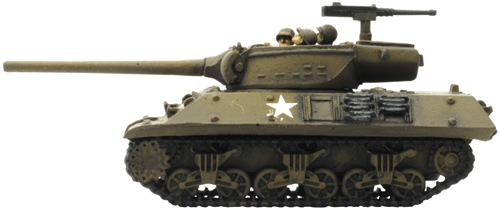
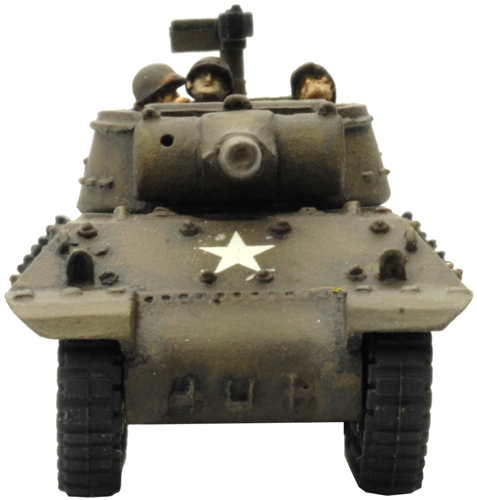
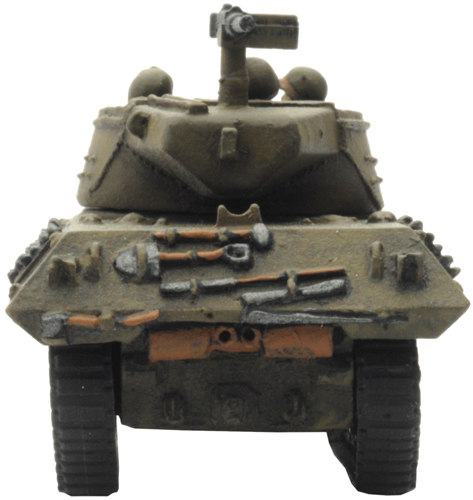
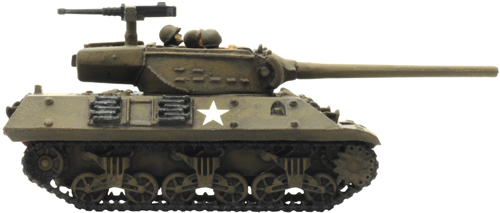
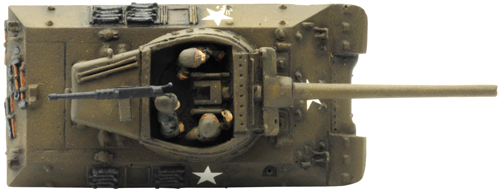
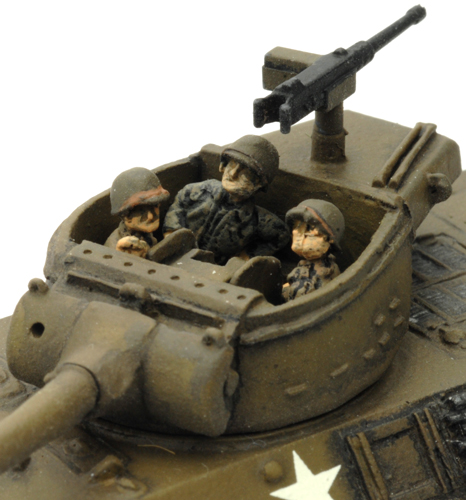
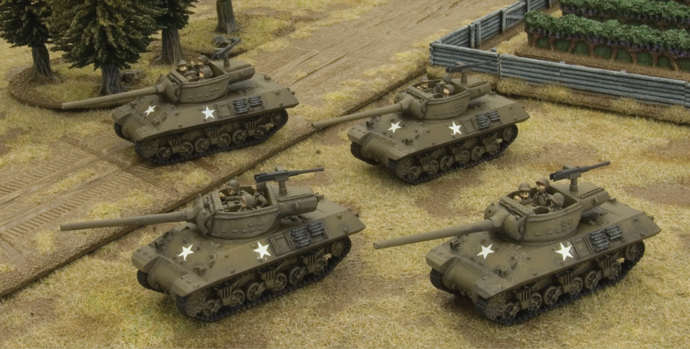
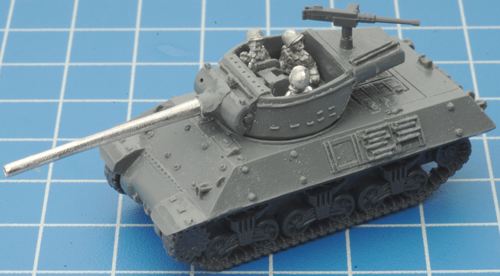
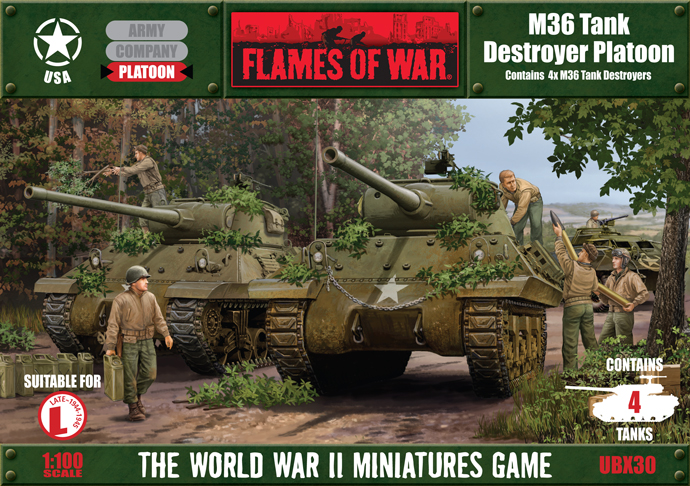 | M36 Tank Destroyer Platoon (UBX30) includes four Resin M36 Tank Destroyers with crew and plastic parts sprue, two Tank Stowage sprues, one Decal sheet & eight Rare-earth magnets. As German tanks became harder to deal with, the tank destroyer arm decided to up-gun their M10s with the M3 90mm anti-aircraft gun. A larger turret was designed to hold the new weapon and a power motor installed to rotate it. Check out the M36 Tank Destroyer Platoon in the online store here... |
| Blood, Guts, & Glory It’s September 1944 and the Allies have stormed across France all along the front lines from Belgium to the French region of the Lorraine. Blood, Guts, & Glory covers the tanks battles in the Lorraine between September 1944 and January 1945. Learn more about Blood, Guts, & Glory here... |  |
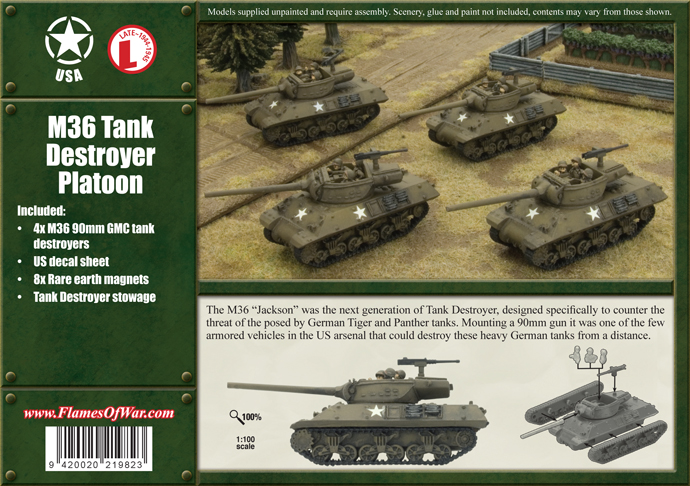 | The US home front converted over 1300 M10A1 chassis (based on the M4A3 Sherman chassis) and designated the new vehicle as the M36 90mm GMC. The destroyer quickly took on the nickname Jackson among the troops. The first M36s arrived in Europe in August 1944, but were not passed on to front line units until September where a few battalions were fully re-equipped, while others slowly replaced their M10s as needed. |
| Detroit’s Finest The Ford V8 engine improved the performance of the M4A3 series of tanks. Its power gave them a good top speed, while its robustness and reliability allowed them to take advantage of this without worrying about breaking down. Tanks that use the Detroit’s Finest special rule have a Movement Distance of 14”/35cm on Roads or Cross-country Terrain. | |
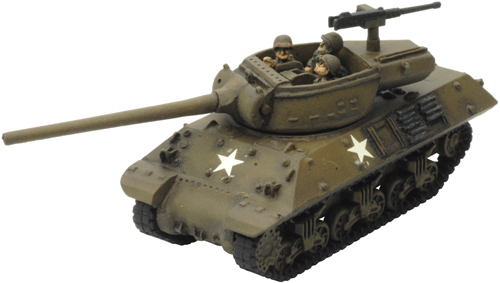
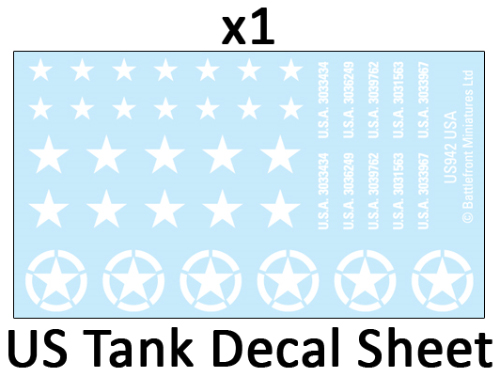
| The M36s came into their own during the Ardennes fighting where they were able to trade shots with the feared Panther tank from the front. Right: The decal sheet shown at 150%. Designed by Evan Allen Painted by Mark Hazell |  |
 |  | ||||||||||||||||||||||||||||||
| The M36 Tank Destroyer in Flames Of War | |||||||||||||||||||||||||||||||
| |||||||||||||||||||||||||||||||
 |  |
| "A Tank Destroyer Platoon uses the US Tank Destroyers special rules found on page 238 of the rulebook." | |
 |  |
| "A Tank Destroyer Platoon is a Reconnaissance Platoon." | |
 |  |
| "A Tank Destroyer Platoon is made up of a Tank Destroyer Section and a Security Section." Learn more about the Tank Destroyer Security Section here... | |
 |  |
| The M36 Tank Destroyer Platoon Stalk Their Prey |
 |
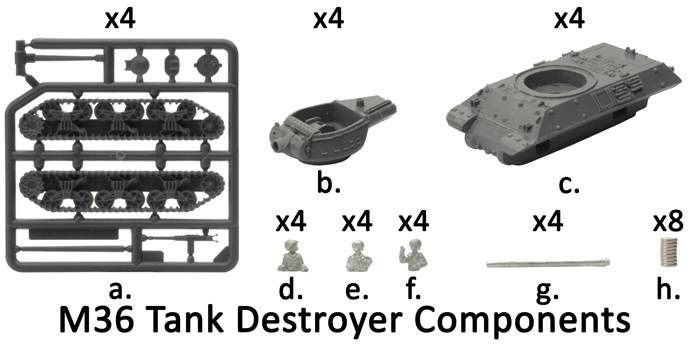
| The Contents of the M36 Tank Destroyer Platoon Box Set |
| Contact the customer service team at customerservice@battlefront.co.nz if you have any issues with any of the components. |
 |
| Description of Components |
| a. 4x Plastic Sherman sprue. b. 4x Resin M36 turrets. c. 4x Resin M36 hulls. d. 4x Crew figure variant A. | e. 4x Crew figure variant B. f. 4x Crew figure variant C. g. 4x M3 90mm gun barrels. h. 8x Rare earth magents. |
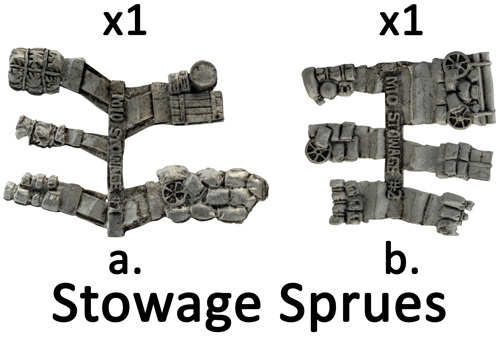 |  |
| Description of Components | Description of Components |
| a. 1x M10 Stowage sprue #1. b. 1x M10 Stowage sprue #2. Learn how to use the M10 stowage here... | 1x US tank decal sheet with Stars and tank serial numbers. |
| The Plastic Sherman Sprue The parts of the plastic Sherman sprue that are used when assembling the M36 tank destroyer are highlighted in green. Right: The highlighted parts of the plastic Sherman sprue used in the construction of the M36 tank destroyer. | 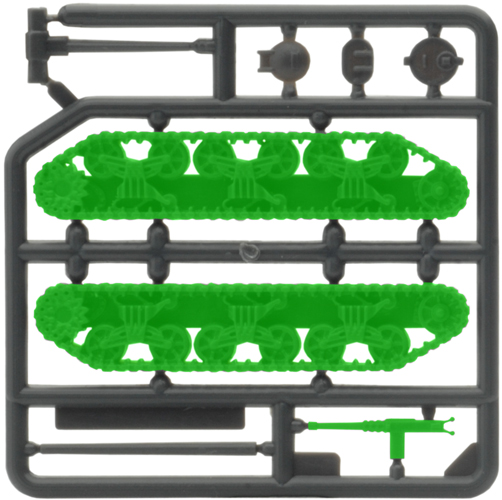 |
| Assembling The M36 Tank Destroyer |
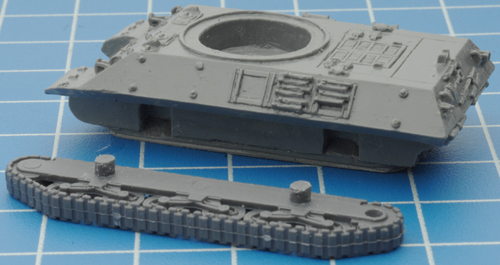
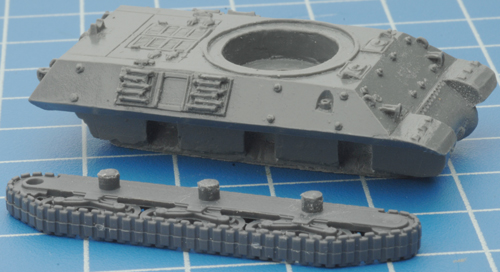
| Step 1. Begin assemble by attaching the tracks to the hull of the M36. Note: Each track has a number of lugs on the back that correspond with the recesses in the hull to aid in the correct alignment of the tracks. |
| Below: The correct alignment for the left-hand side track. | Below: The correct alignment for the right-hand side track. |
 |  |
| Below: The left-hand side track attached to the M36 hull. | Below: The right-hand side track attached to the M36 hull. |
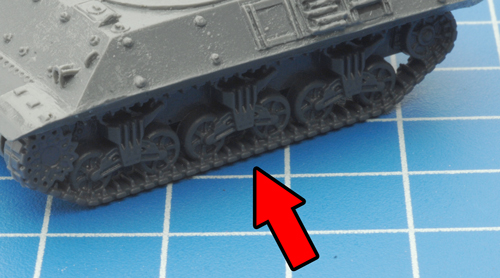 | 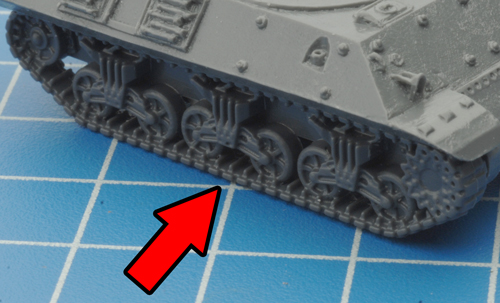 |
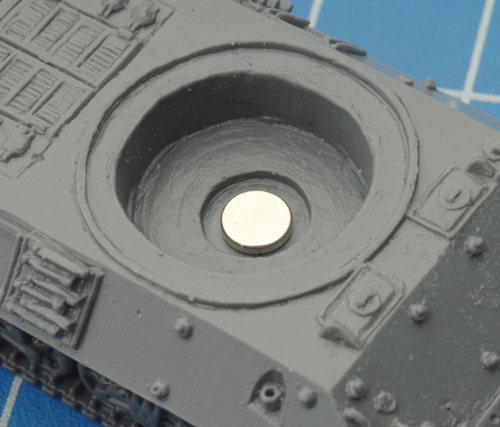
| Evan has created a recess for a rare earth magnet in the hull of the M36. Read Chris' guide to Rare Earth Magnets here for more tips and tricks... |
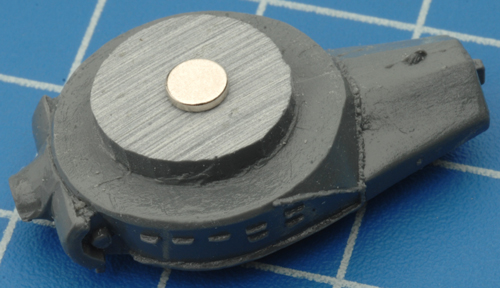
| Below: The magnet recess complete with magnet. | Below: Simply glue a rare earth magent to the bottom of the turret and you have a safe and secure way of attaching the turret to the hull. |
 |  |
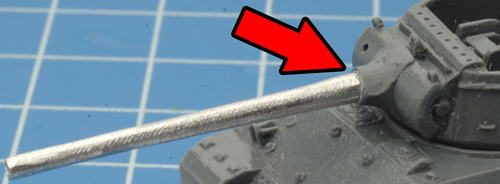
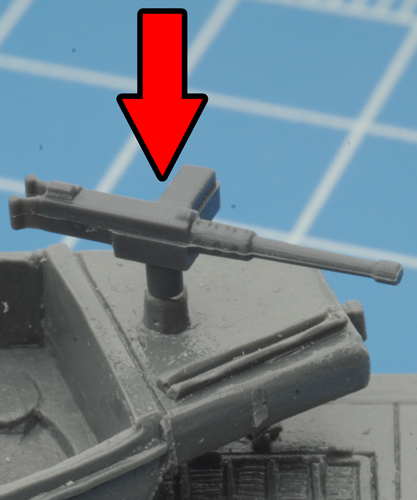
| Step 2. Next, attach the M3 90mm gun barrel to the recess on the front of the turret. | Step 3. Then attach the .50cal AA MG to the rear of the turret using the MG pedestal. |
 |  |
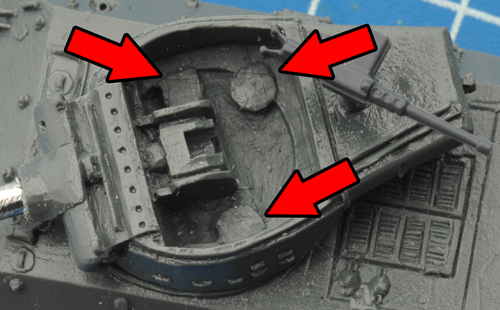
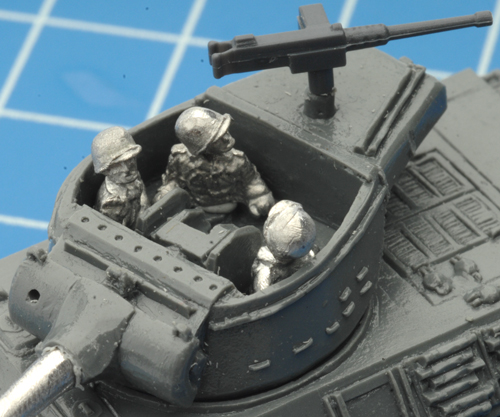
| Step 4. Inside the turret there are three round platforms to place the crew figures. On these three platforms arrange one figure of each crew variant (A, B, & C) inside the turret. | Step 5. With the crew in place, the M36 tank destroyer is ready for painting. | |
 |  |  |

Ingen kommentarer:
Legg inn en kommentar