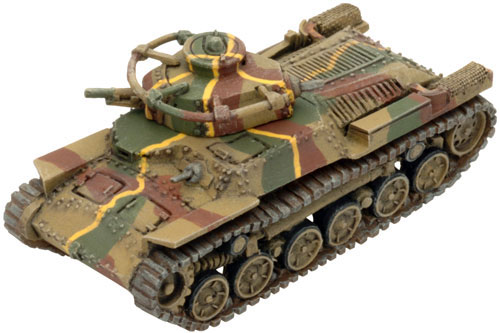
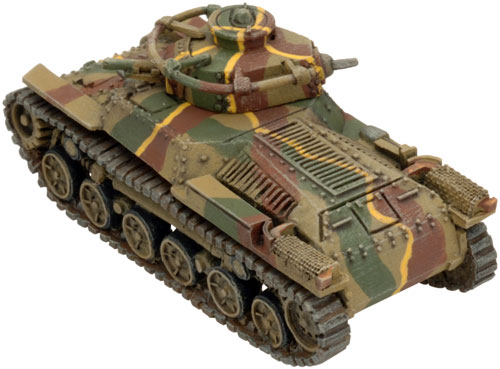
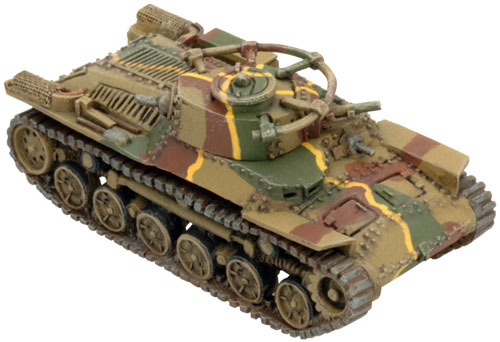
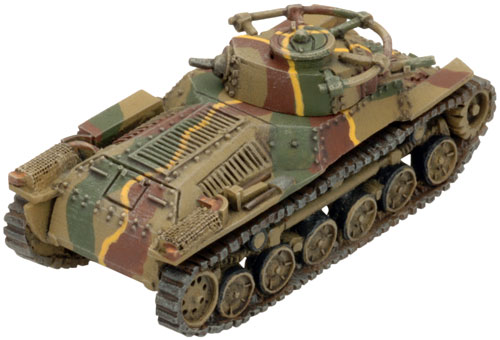
Jagdtiger (GBX70)
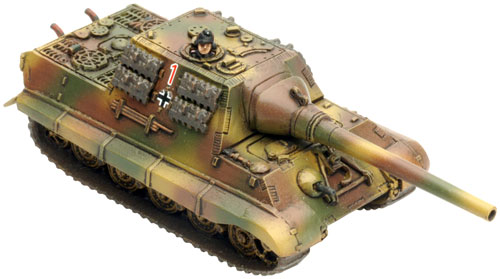
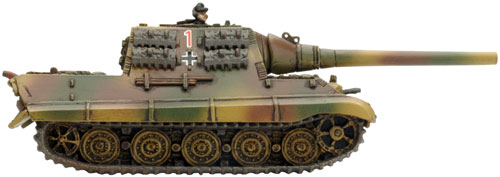
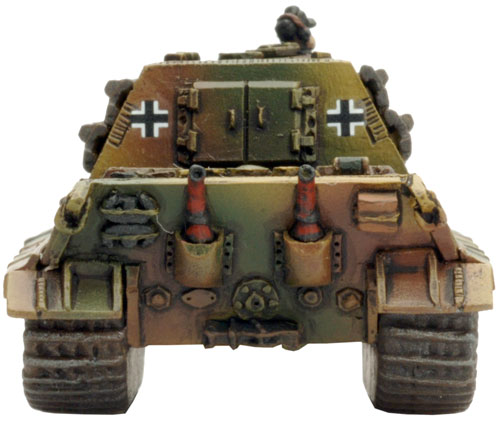
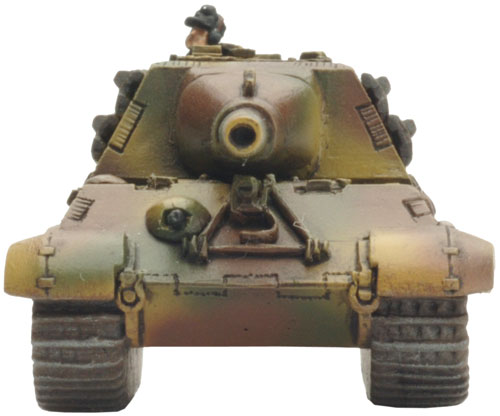
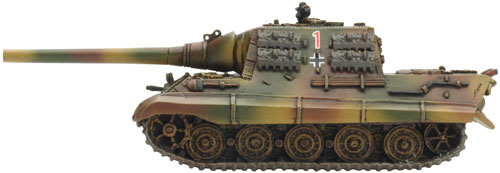
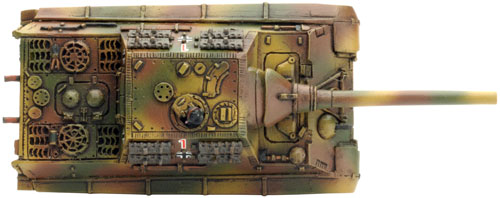
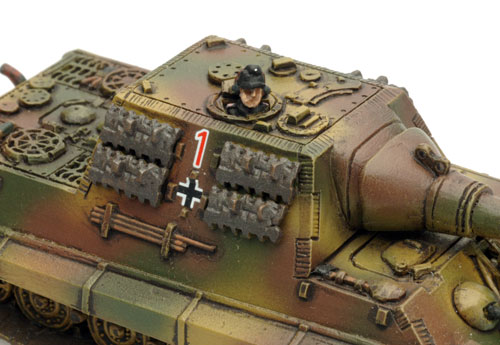
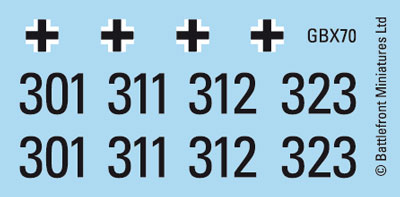
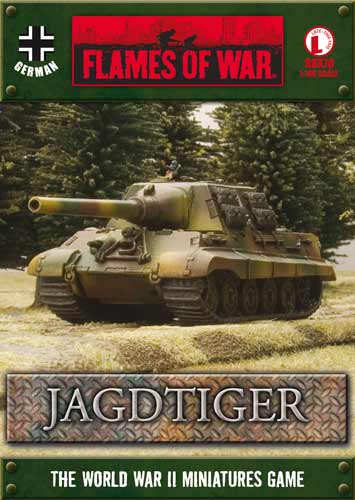 | Jagdtiger (GBX70) includes one Jagdtiger Tank Destroyer & one Decal sheet. The Jagdtiger was the largest and heaviest armoured fighting vehicle used by the German panzer forces during the war. Work on the Jagdtiger began in 1943 and Henschel, who already made the Tiger and Königstiger heavy tanks, submitted plans based on the Königstiger. Two prototypes were produced, one using the original Henschel Königstiger suspension, the other based on the Porsche suspension similar to that of the Elefant tank-hunter. The Henschel design was selected, but due to slow production ten Porsche vehicles were also produced. A total of 77 Jagdtiger tank-hunters were manufactured by the end of the war. Check out the Jagdtiger in the online store here... |
| Nuts! Germans forces had smashed through the American 28th and 106th Infantry Divisions before approaching the key crossroads town of Bastogne on 19 December. In the meantime the veteran 101st Airborne Division had been rushed from their camp in France to Bastogne to take up the defence. Learn more about Nuts! here... |  |
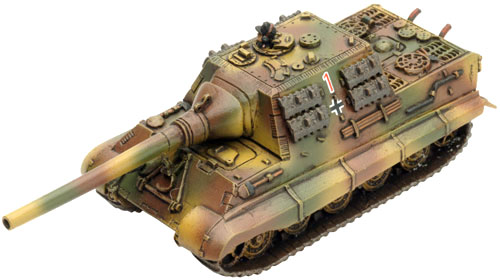
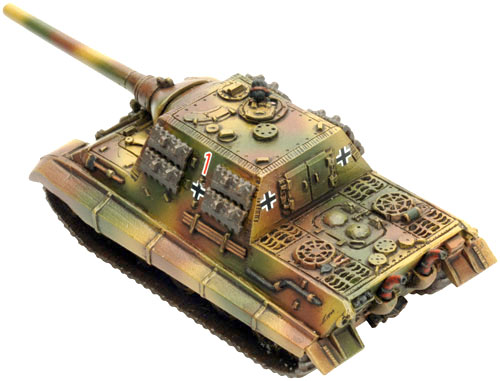
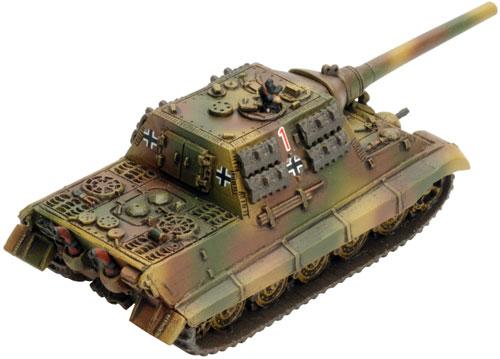
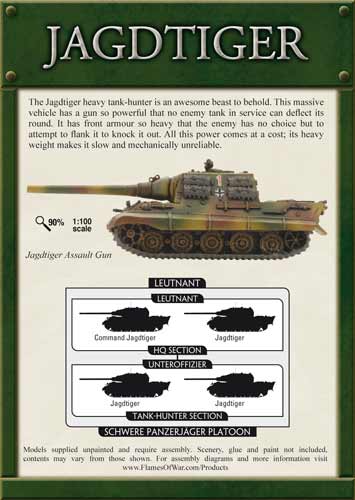 | The Jagdtiger tank-hunter had thick armour and was nearly invulnerable from the front and even from the side only better enemy anti-tank tank guns could penetrate it. Its main asset was its powerful 12.8cm PaK44 anti-tank gun. This gun was derived from the K81 divisional gun and could penetrate any tank the Allies had, often blowing smaller vehicles into fragments. However, its armour and gun made it very heavy, which put a massive strain on its drive train and engine. This led to reliability issues and made it difficult to get good numbers of them into combat at once. The Jagdtiger heavy tank-hunter first went into action with 653. Schwere Panzerjägerabteilung during Operation Nordwind in January 1945 and stayed in service until the end of the war. Designed by Evan Allen Painted by Blake Coster |
| The Jagdtiger | |
 |  | ||||||||||||||||||||||||||||||
| The Jagdtiger in Flames Of War | |||||||||||||||||||||||||||||||
| |||||||||||||||||||||||||||||||
 |  |
| Overloaded Super-heavy tanks and heavily-laden assault guns often overload their engines and suspensions, making them very poor at crossing obstacles. When required to take a Bogging Check to cross Difficult Going, an Overloaded vehicle becomes Bogged Down on a roll of 1 or 2, rather than the usual 1. An Overloaded vehicle must re-roll successful Skill Tests to cross Very Difficult Going. | |
 |  |
| Unreliable Whether poorly designed, unsuitable for the conditions, or requiring more maintenance than current supply considerations will allow, these vehicles have a significant chance of breakdown when pushed too hard. If an Unreliable vehicle attempts to move At the Double, roll a die. On a roll of 1 the vehicle becomes Bogged Down. | |
 |  |
| Hull-mounted Guns Some tanks mount weapons in the front of the hull instead of in a turret to save weight or to make them easier to produce. A hull-mounted weapon mounted in the front of a vehicle has a 180-degree Field of Fire covering everything in front of a line drawn across the front of the vehicle. If the weapon is mounted at the rear of the vehicle, the Field of Fire covers everything to the rear of a line drawn across the rear of the vehicle. | |
 |  |
| No Saves from Big Guns Some weapons are just so powerful that there is no chance of surviving a hit from them. These heavy guns are often mounted in tanks and self-propelled guns designed to break through enemy defensive lines. Infantry teams, Gun teams, Passengers, and Unarmoured vehicles automatically fail their Saves when hit by a Breakthrough Gun or a Bunker Buster. This does not apply to Artillery Bombardments. |
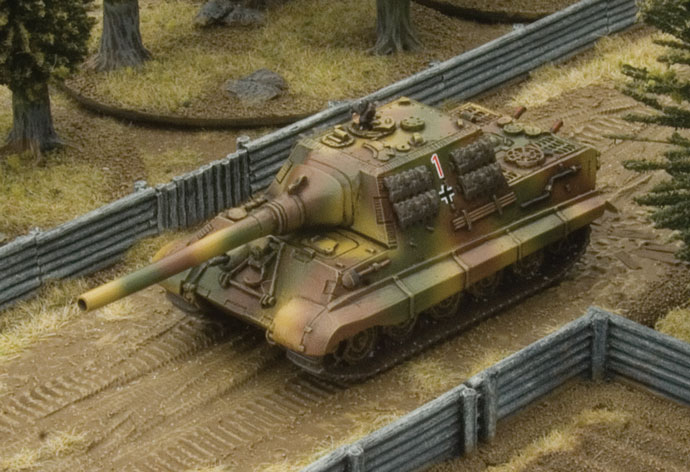
| The Jagdtiger on the Prowl |
 |
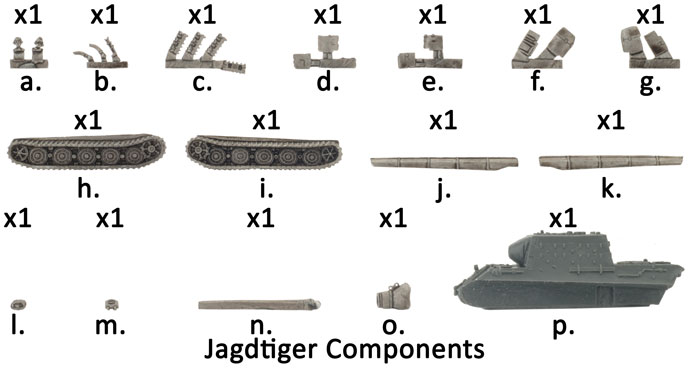
| The Contents of the Jagdtiger Box Set |
| Contact the customer service team at customerservice@battlefront.co.nz if you have any issues with any of the components. |
 |
| Description of Components |
| a. 1x Tank commander sprue. b. 1x Exhaust pipe sprue. c. 1x Spare track link sprue. d. 1x Left-hand side damaged mudguards sprue. e. 1x Right-hand side damaged mudguards sprue. f. 1x Left-hand side mudguards sprue.g. 1x Right-hand side mudguards sprue. h. 1x Right-hand side track. | i. 1x Left-hand side track. j. 1x Right-hand side fender. k. 1x Left-hand side fender. l. 1x Hull MG. m. 1x Commander's hatch. n. 1x 12.8cm PaK44 gun barrel. o. 1x Gun mantlet. p. 1x Resin Jagdtiger hull. |
| Assembling The Jagdtiger | |
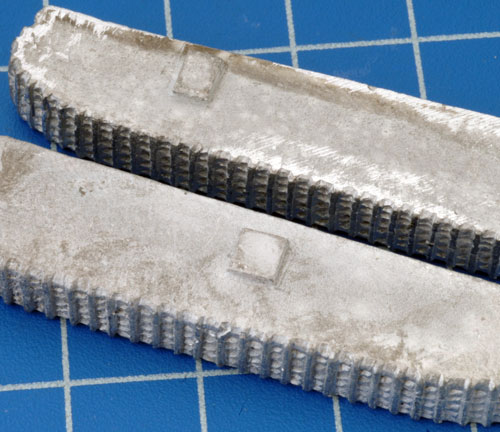
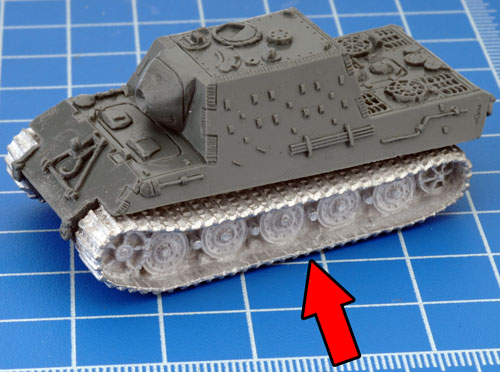
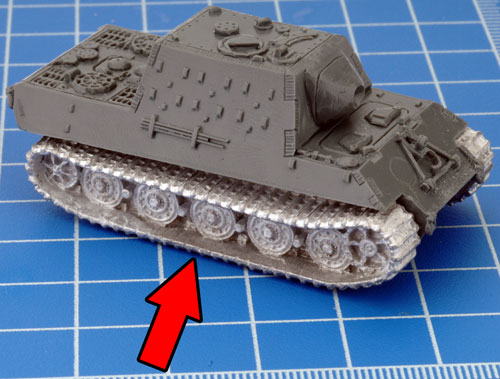
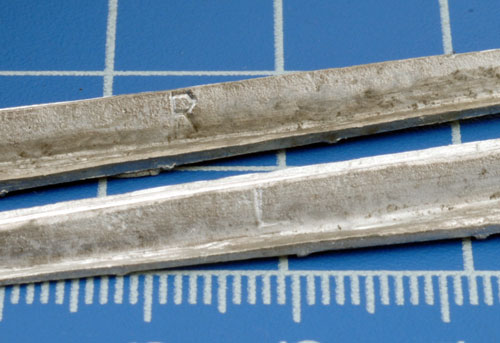
| Step 1. Begin assembly by attaching the tracks to the hull of the Jagdtiger. Note: Each track has been keyed to correspond with a particular side of the hull; this aids in ensuring the correct orientation of the tracks when assembling the miniature. |
| Below: The orientation keys on the tracks. | Below: The correct alignment for the left-hand side track. | Below: The correct alignment for the right-hand side track. |
 | 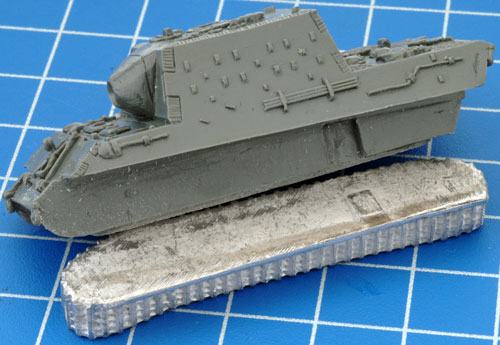 | 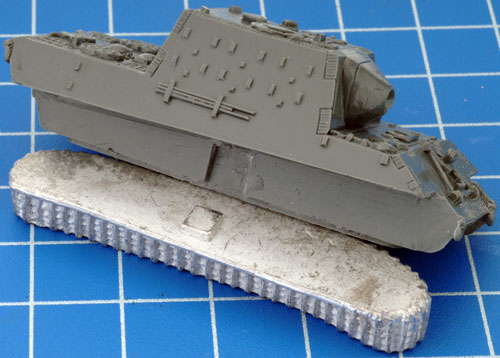 |
| Tip: When referring to left or right-hand side in regards to a Flames Of War miniature, the orientation is determined as if looking at the vehicle from the rear. | ||
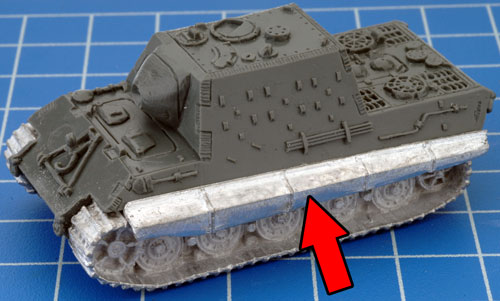
| Below: The left-hand side track attached to the hull. | Below: The right-hand side track attached to the hull. | Step 2. With the tracks attached, its time to move onto the side fenders. Each fender is stamped with the letter 'R' or 'L' to indicate orientation. |
 |  |  |
| Tip: Always dry fit (Dry Fitting is assembling components of a model without any glue. This ensure that they go fit together correctly before a permanent bond is created and allows for any fine adjustments to be made.) components before final assembly. | ||
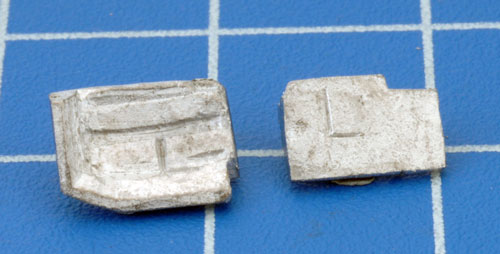
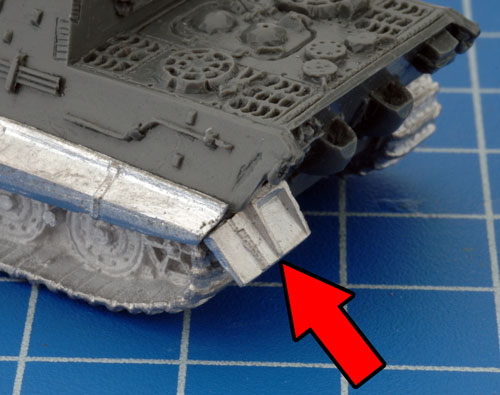
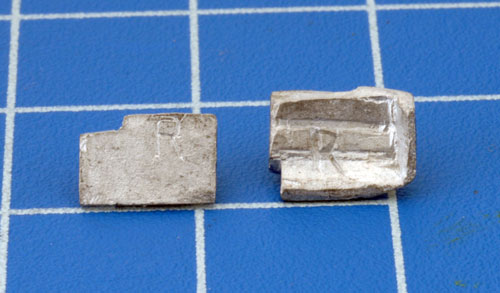
| Below: The left-hand side fender attached to the hull. | Step 3. Like the side fenders, the front and rear mudguards are also stamped to indicate correct orientation. | Below: The left-hand side rear mudguard attached to the hull. |
 |  |  |
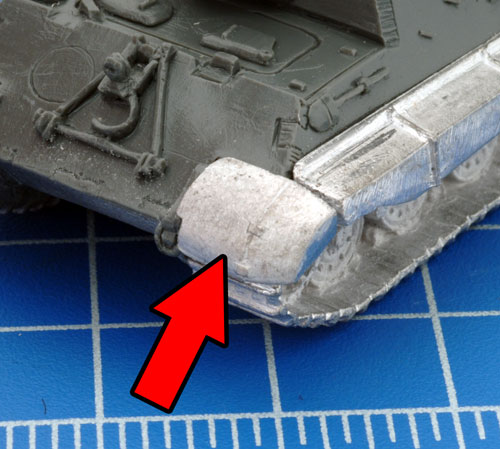
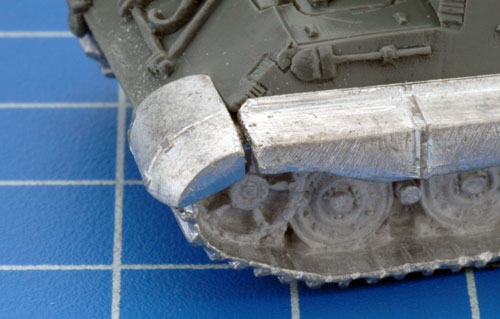
| Below: The left-hand side front mudguard attached to the hull. | Note: There maybe a small gap between the mudguards and the side fender; however this can be fill with 'Green Stuff.' | Below: The right-hand side front and rear mudguards stamped with the letter 'R'. |
 |  |  |
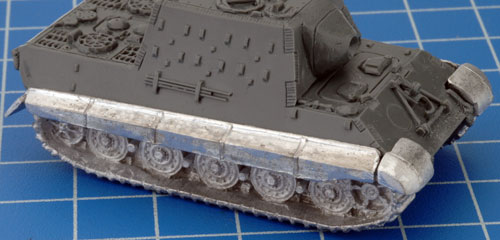
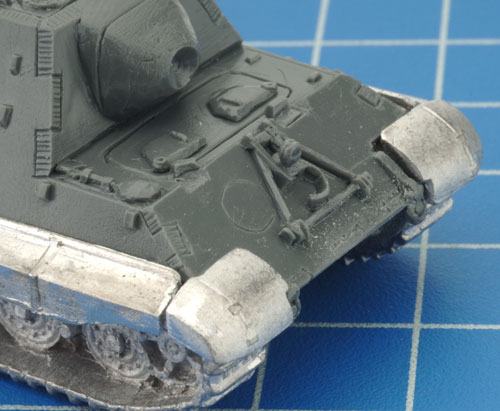
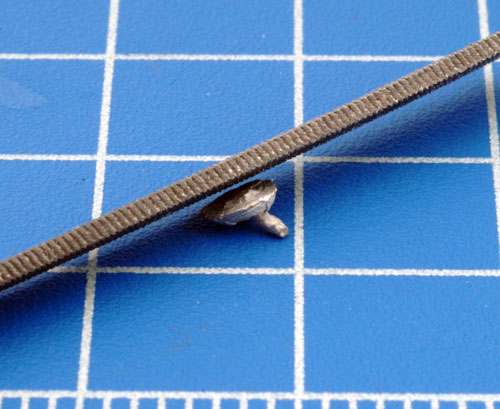
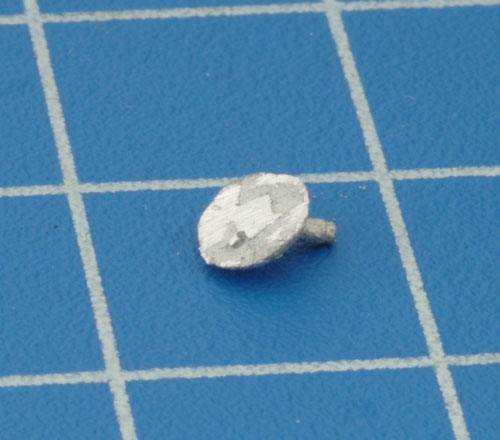
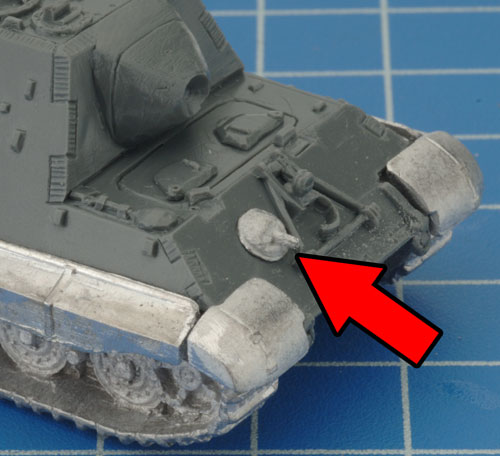
| Below: Both the left and right-hand mudguards and side fenders attached to the Jagdtiger. | Step 3. Next up is the hull MG. This attaches over the circle on the front of the hull. However, first the small tab on the rear of the MG needs to be removed. | |
 |  | 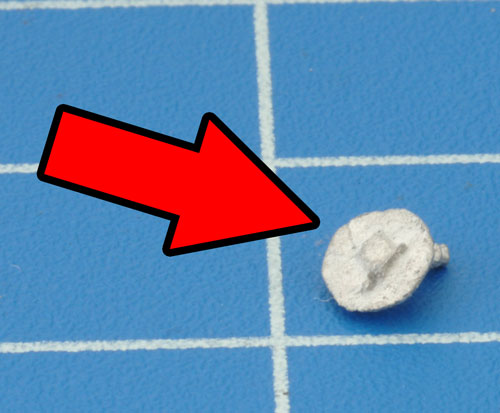 |
| Below: Removing the tab on the rear of the hull MG with a hobby file. | Below: The hull MG attached to the front of the hull. | |
 |  |  |
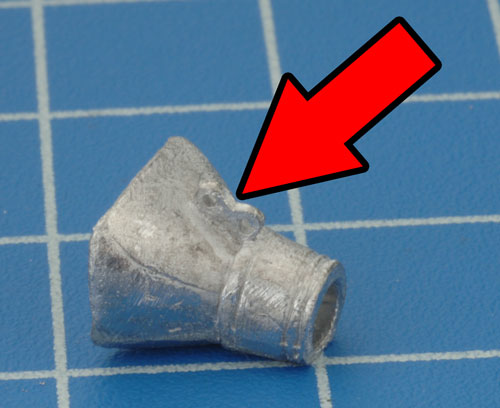
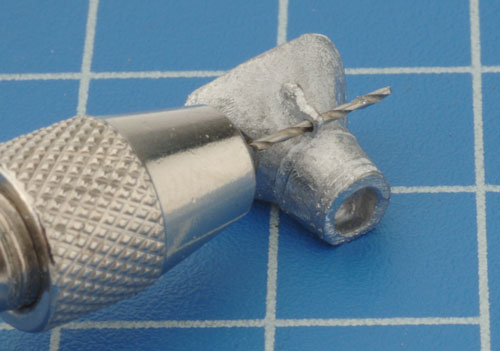
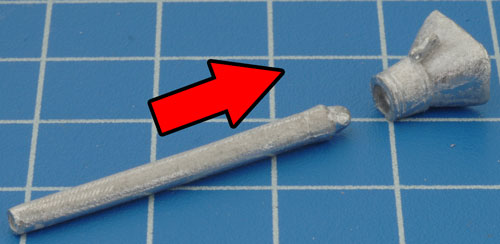
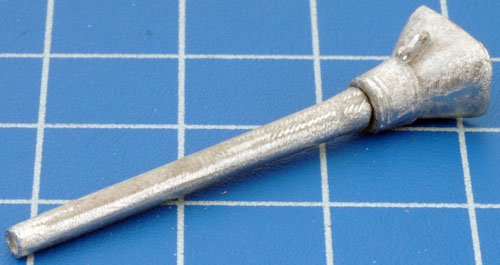
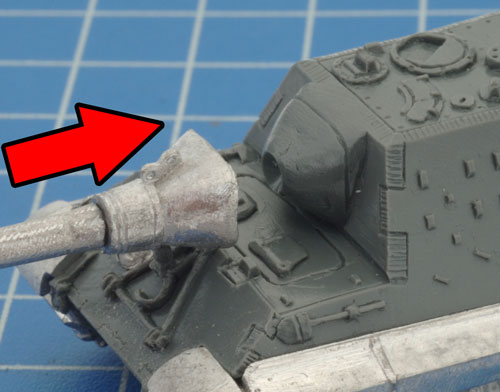
| Step 4. Now for the main gun. The gun mantlet has a set of hoist rings used to lift the gun into place at the factory. If there is flash filling the holes use a pin vice to quickly remove it. Once any flash has been removed, attach the gun barrel to the gun mantlet. | ||
 |  |  |
| Below: The gun barrel attached to the mantlet. | Step 5. Attach the main gun to the hull. | |
 | 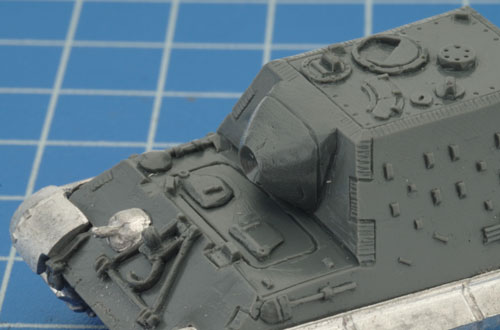 |  |
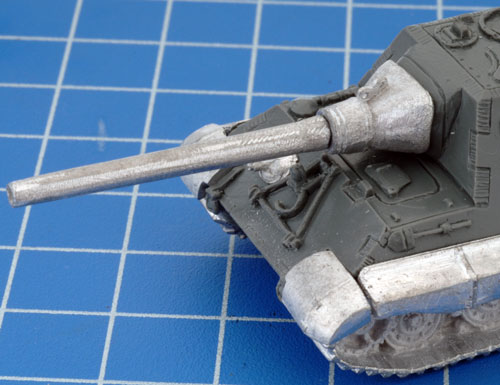
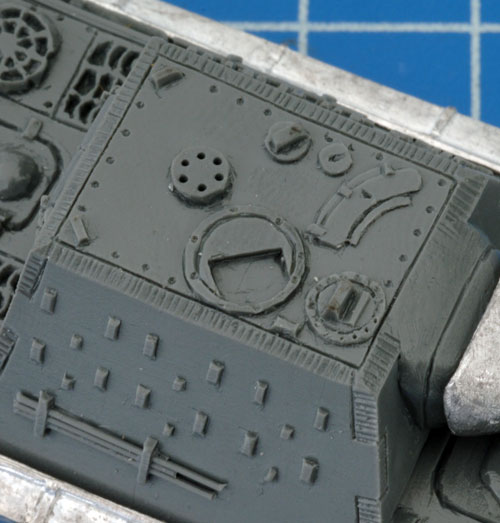
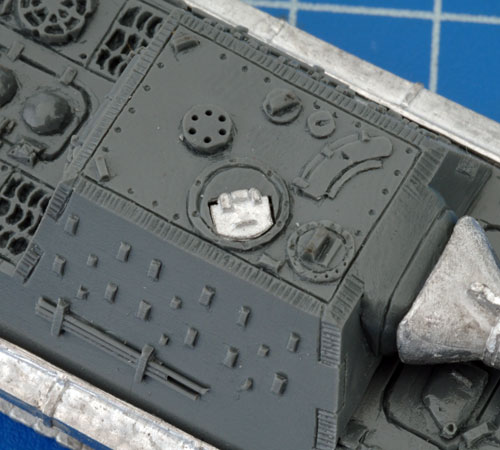
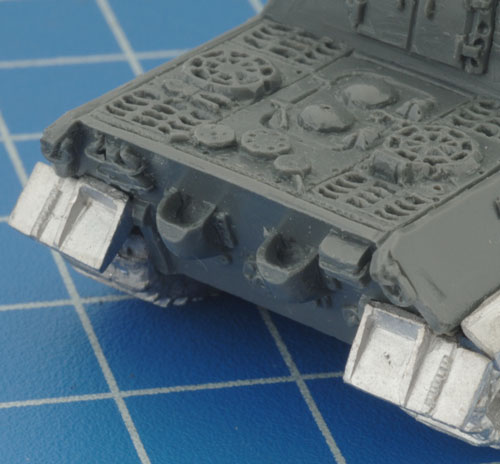
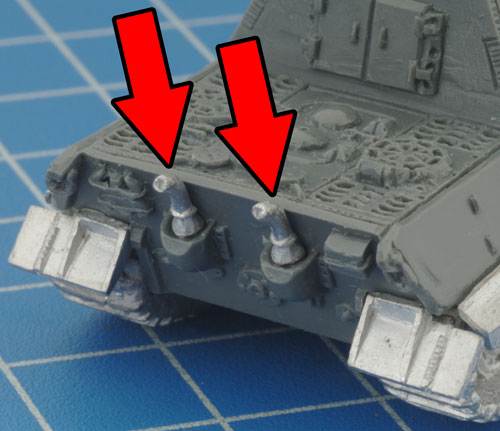
| Below: The gun complete with mantlet attached to the hull. | Step 6. Next, attach the commander's hull to the top of the hull. | Step 7. Time to move onto the rear of the miniature and add the exhausts. | |
 |  |  |  |
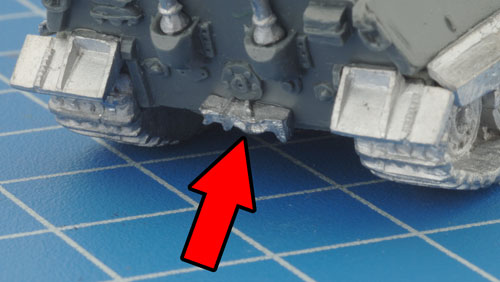
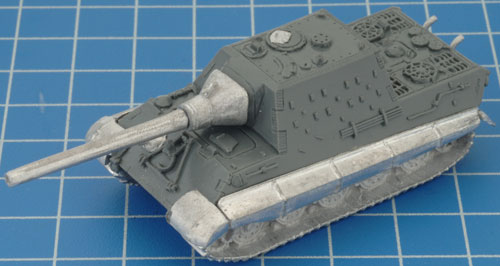
| Below: The exhausts attached the the hull. | Step 8. Finally, add the jack to the bottom of the hull rear as shown in the example below. | Below: With the jack in place the basic Jagdtiger is assembled. |
 |  |  |
| Adding The Tank Commander | ||
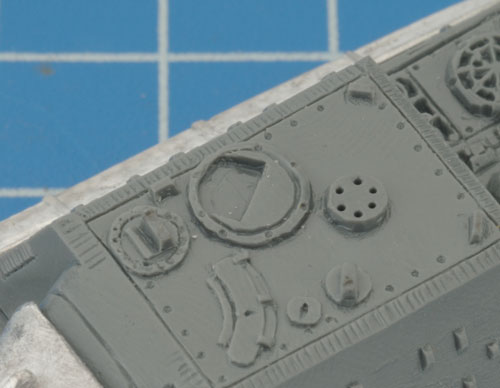
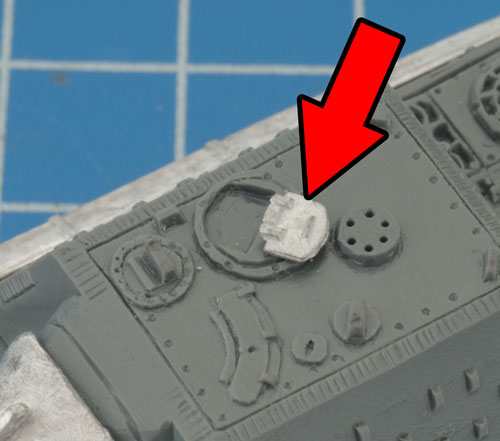
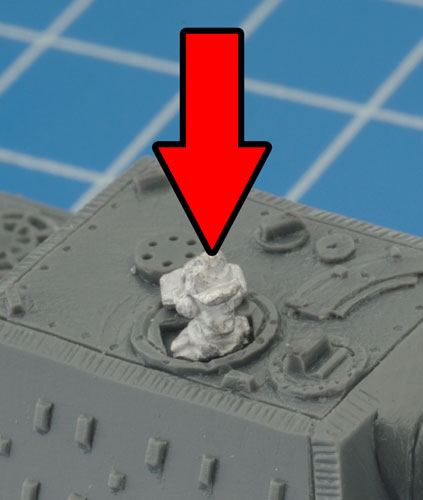
| Step 1. Attach the commander's hatch to the turret in the open position as show in the exampe below. | Step 2. Add the tank commander figure of your choice. | |
 |  |  |
| Adding Spare Track Links |
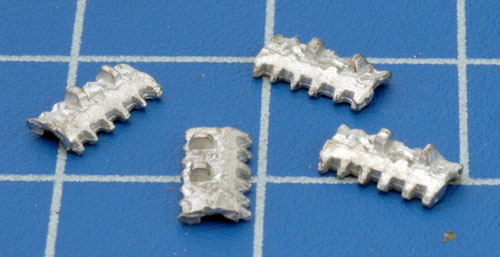
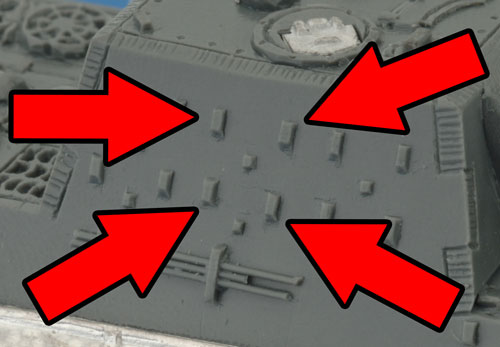
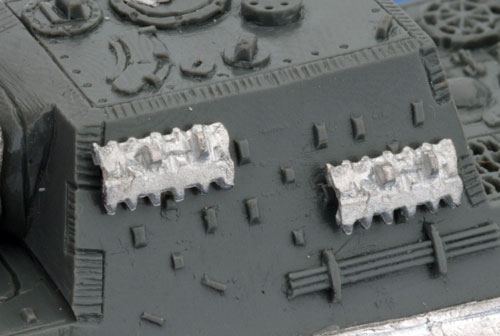
| The Jagdtiger box set includes spare track links. These are optional but can add that extra level of detail to your miniature. | The spare track links attach to the side of the superstructure using the tabs seen in the example below. | Below: Spare track links attach to the side of the superstructure. |
 |  |  |
| Battlefront TV Basic Decal Guide Blake demonstrates the basics of applying decals.
Below: The Jagdtiger decal sheet.
 |
| Adding Damaged Mudguards |
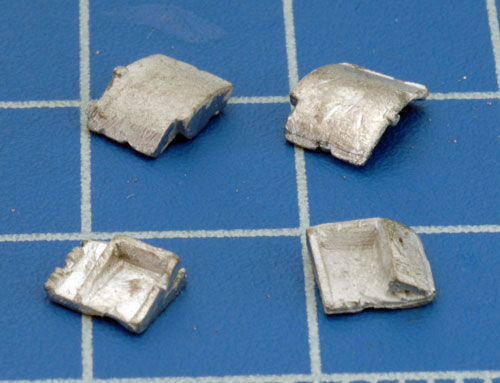
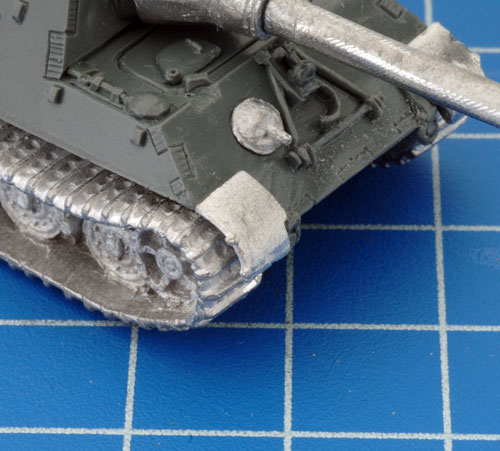
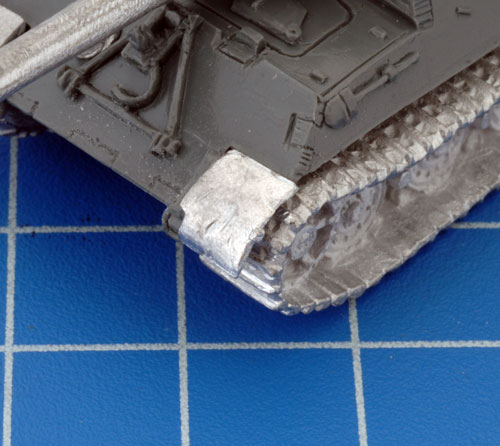
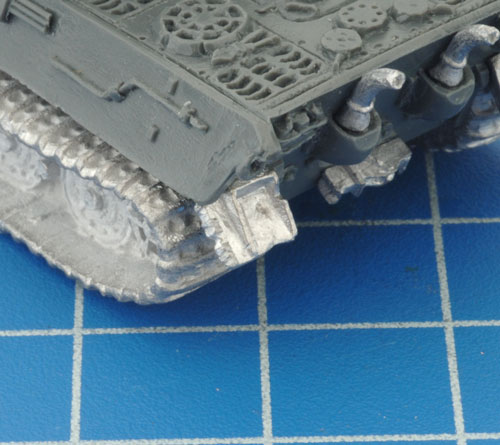
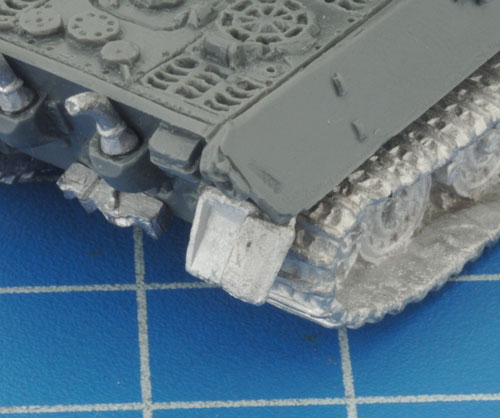
| Included in the Jagdtiger box set is a set of damaged mudguards. These are designed to simply replace or work in conjunction with any of the other standard muguards to add some modelling variation. | Below: An example of a damaged mudguard on the Jagdtiger miniature. |
 |  |
| Below: More examples of the damaged mudguards on the Jagdtiger. | ||
 |  |  |
| Adding Damaged Side Fenders |
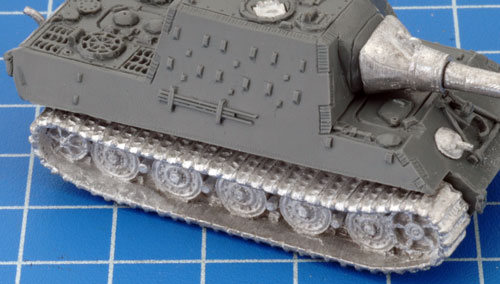
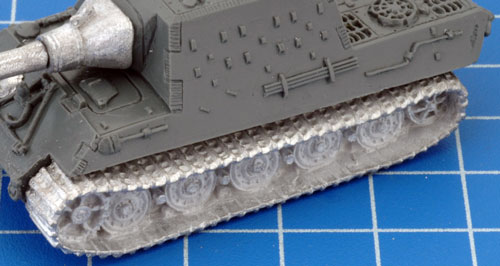
| A quick image search for the term 'Jagdtiger' will reveal numerous images of the Jagdtiger's side fenders and mudguards in various states on disrepair. This can be very easily re-create on your miniature. One option is to leave all the mudguards and fenders off altogether as seen in the examples below. |
| Below: An example of a Jagdtiger with no mudguards or side fenders. | |
 |  |
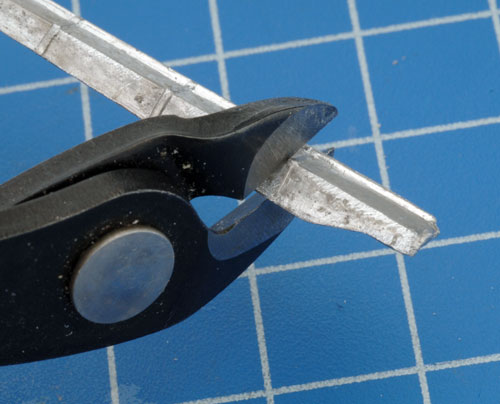
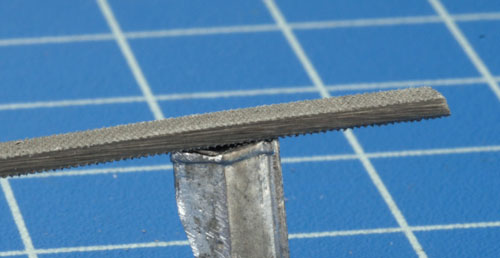
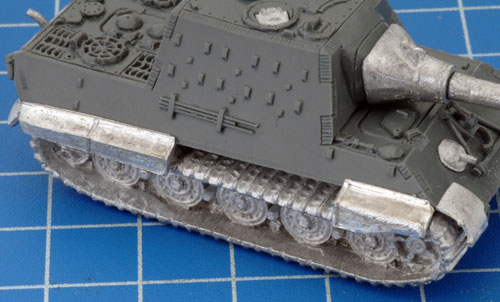
| To model damaged side fenders simply uss a pair of hobby cutter to cut the fenders at the joints and a file to smooth them down and then attach them to the minature.Using this method can create endless modelling possibilites. | Below: An example of a Jagdtiger with damaged side fenders. | |
 |  |  |
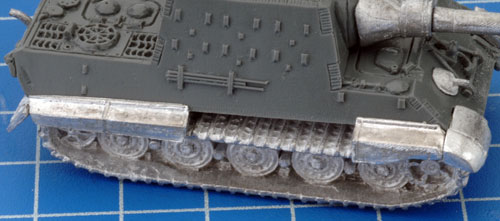
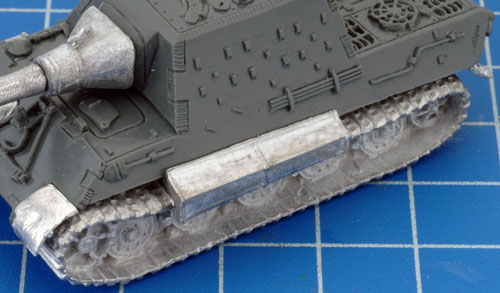
| Below: More examples of missing and damaged mudguards and side fenders. | |
 |  |