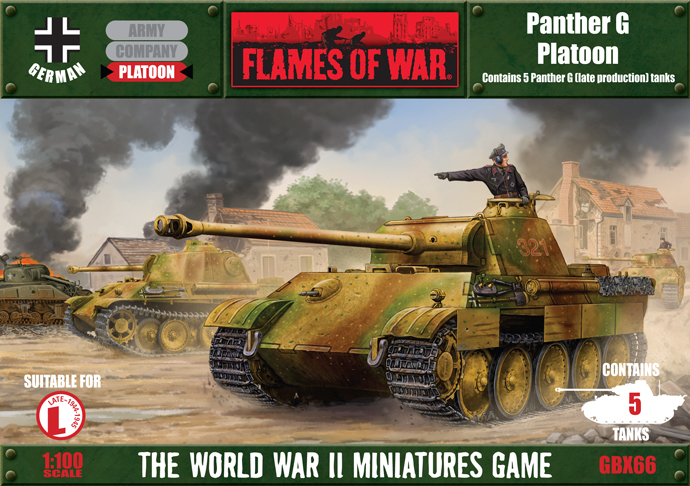
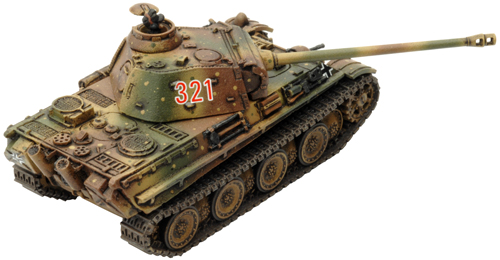
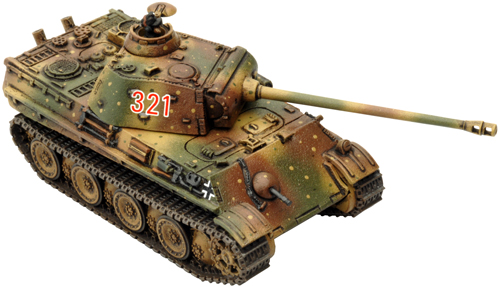
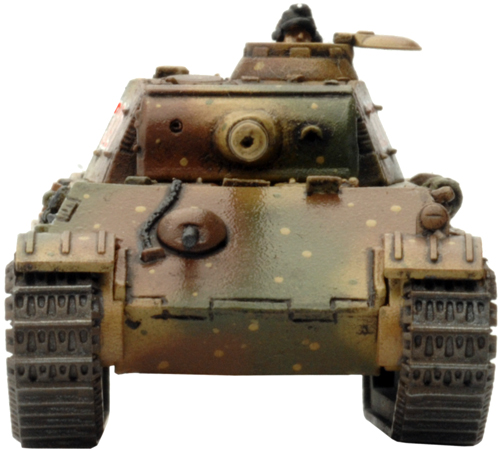
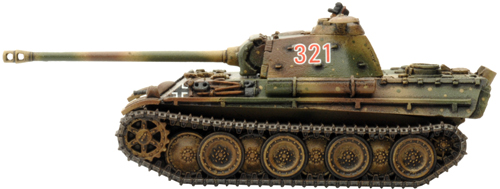
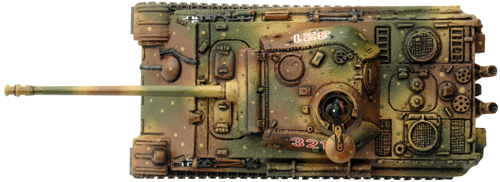
 | Panther G Platoon (GBX66) includes five Panther G (Late) tanks, two Stowage sprues, two Tank Commander sprues, five Plastic Panther parts sprues, five Plastic Panther track sprues, one Decal sheet & ten Rare-earth magnets. The Panther G is the latest model of the famed Panther tank. When the Germans revamped the old Panther A, they gave it a thicker, but more vertical, one-piece hull side to mate up with the superstructure of the Jagdpanther, and eliminated the driver’s direct vision slot. Check out the Panther G Platoon in the online store here... |
| Blood, Guts, & Glory It’s September 1944 and the Allies have stormed across France all along the front lines from Belgium to the French region of the Lorraine. Blood, Guts, & Glory covers the tanks battles in the Lorraine between September 1944 and January 1945. Learn more about Blood, Guts, & Glory here... |  |
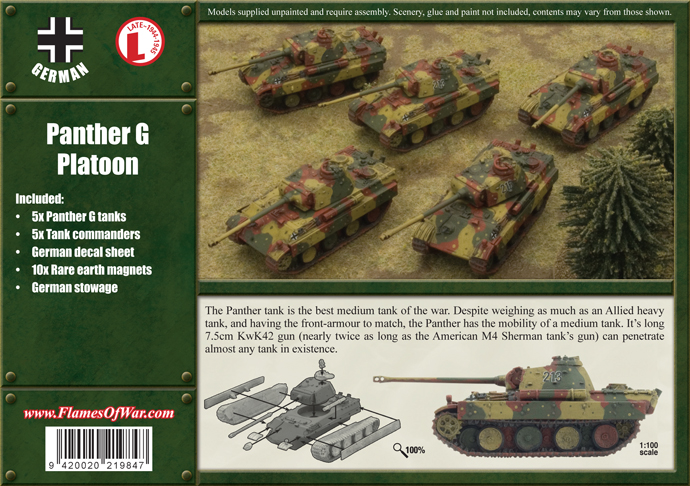 | The result is slightly stronger armour, but more importantly, it is easier to manufacture. The new model retains the very long-barrelled 7.5cm KwK42 gun of its predecessor, which a year after its introduction could still penetrate any tank in existence, penetrating 124mm (4.9”) of sloped armour at 500m. The front armour of the Panther G matches its gun, being 80mm (3.15”) of well-sloped armour plate. This is more than enough to turn the shot of any gun less powerful than its own. Designed by Evan Allen Plastics designed by Will Jayne Painted by Blake Coster |
| The Panther G in Flames Of War |
|
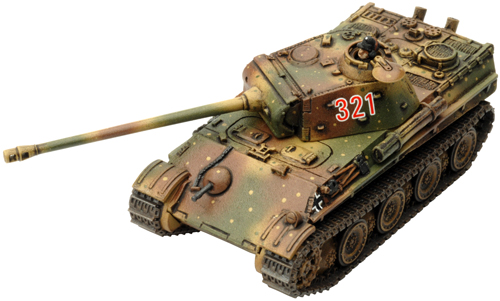 | 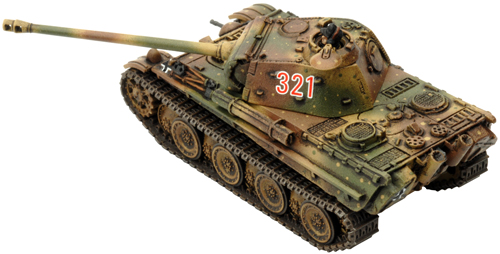 |
| Best Tank of the War? The balance of an excellent gun, good armour, and good mobility makes the Panther tank one of the best of the war. |
 |  |
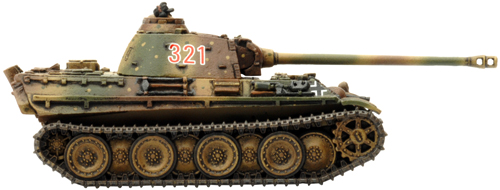
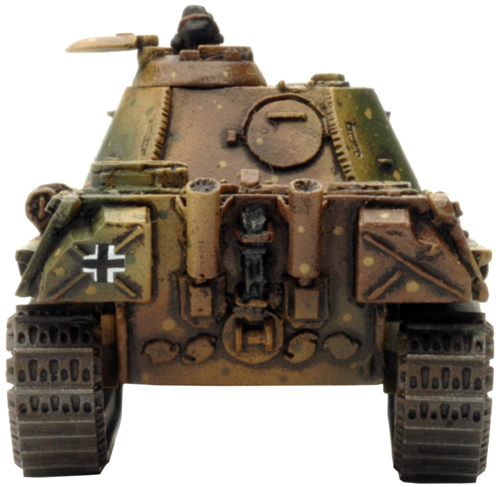
| Firepower! It’s long 7.5cm KwK42 gun (nearly twice as long as the American M4 Sherman tank’s gun) can penetrate almost any tank in existence. |
 |  |
| Mobility Despite weighing as much as an Allied heavy tank, and having the front-armour to match, the Panther has the mobility of a medium tank. |
 |  |
| Wide Tracks Some excellent tank designs have successfully utilised wider tracks, allowing them to cross almost any terrain. If a vehicle with Wide Tracks becomes Bogged Down while attempting to cross Rough Terrain, roll again. On a roll of 4+ the vehicle immediately frees itself and continues moving. |
 |  |
| The Panther G Platoon on the Move |
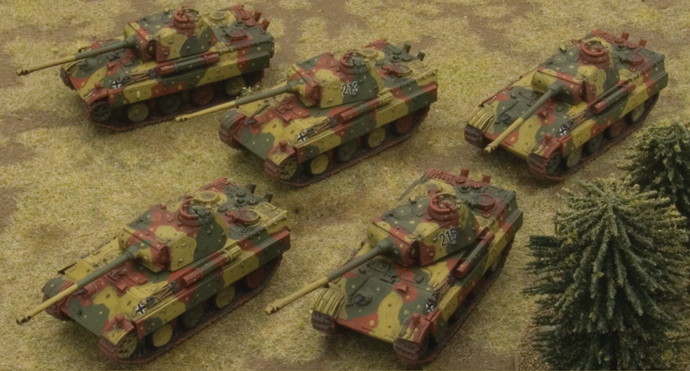 |
| The New Plastic Panther Sprues |
 | 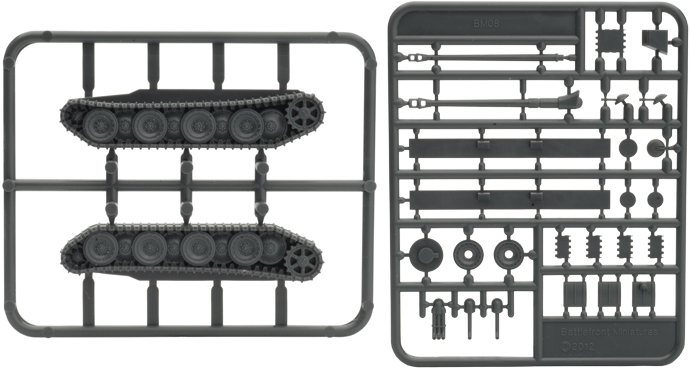 |
| The Panther G Platoon on the Move |
 |
| The Contents of the Panther G Platoon Box Set |
| Contact the customer service team at customerservice@battlefront.co.nz if you have any issues with any of the components. |
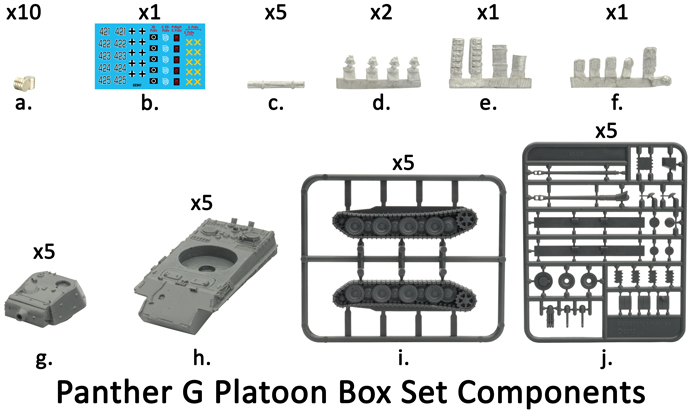 |
| Description of Components |
| a. 10x Rare-earth magnets. b. 1x Panther decal sheet. c. 5x Gun cleaning kit tubes. d. 2x Tank Commander sprues. e. 1x Stowage sprue #1. | f. 1x Stowage sprue #2. g. 5x Panther G (late) resin turrets. h. 5x Panther G (late) resin hulls. i. 5x Plastic Panther tracks sprues. j. 5x Pastic Panther parts sprues. |
| The Plastic Panther Sprues The parts of the new plastic Panther sprues that are used when assembling the Panther G (late) are highlighted in green. The parts highlighted in red are optional and can be used to add some modelling variety. Right: The highlighted parts of the new plastic Panther sprues used in the construction the Panther G (late). |
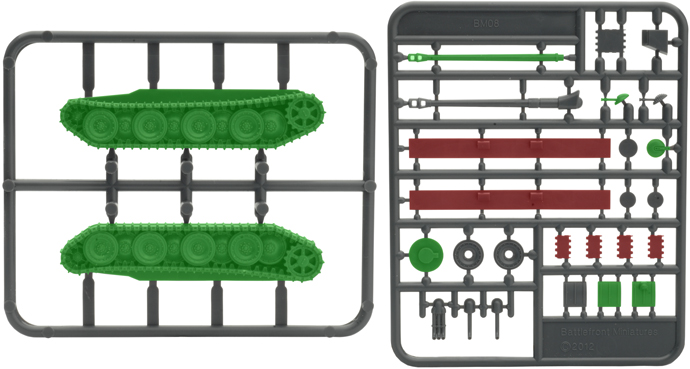 |
| Assembling The Panther G (late) |
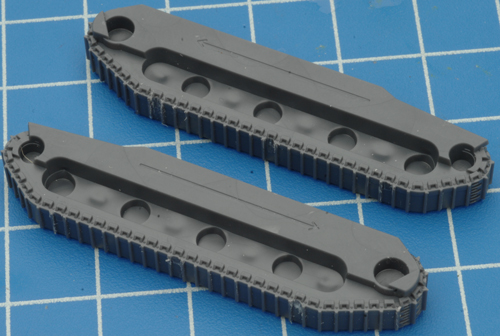
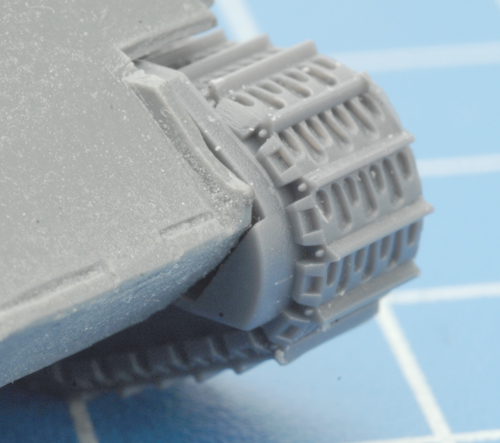
| Step 1. Begin assembly by attaching the tracks to the hull of the Panther G. Note: Each track has an arrow the back that corresponds with the front of the track to aid in correct orientation. Make sure that sits flush with the hull. | |
 |  |
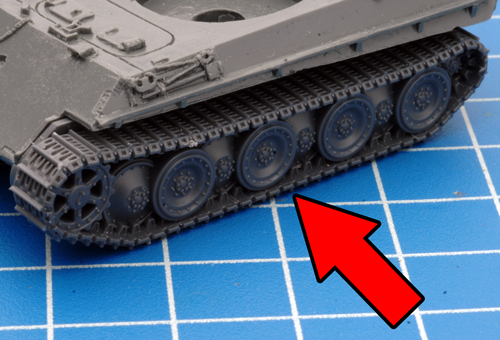
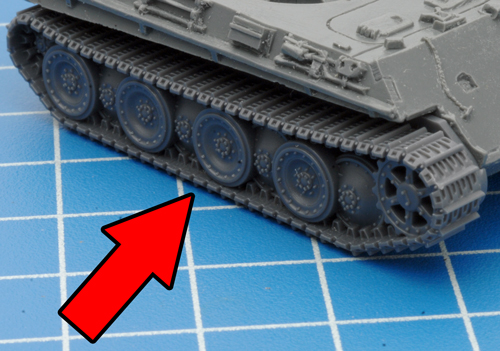
| Below: The left-hand side track attached to the hull. | Below: The right-hand side track attached to the hull. |
 |  |
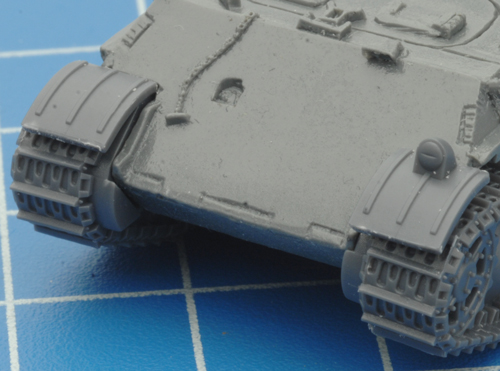
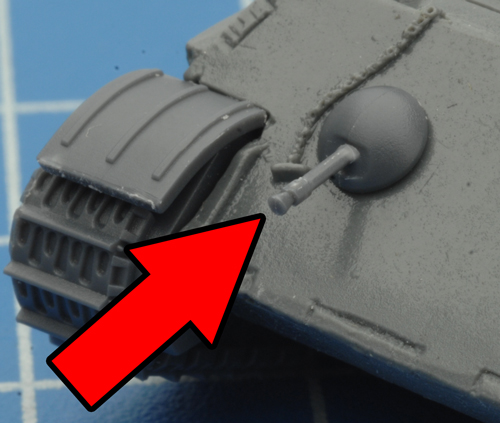
| Step 2. Next, attach the front mud guards. Note: Make sure that the mud guard with the headlight is on the right-hand side of the hull. | Step 3. Now add the hull MG to the front glacis plate of the Panther G. |
 |  |
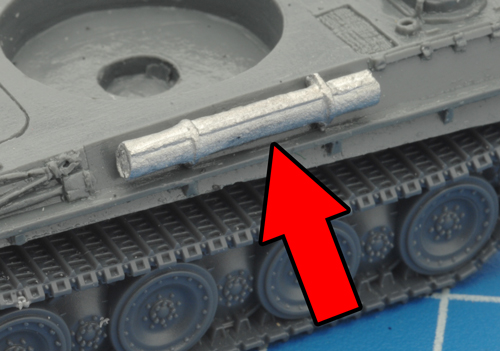
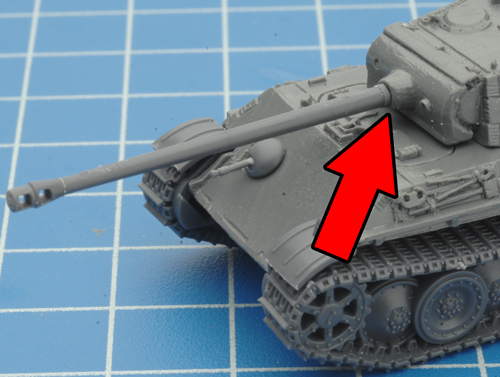
| Step 4. Next, attach the gun cleaning kit tube to the right-hand side of the hull. | Step 5. Time to move onto the turret; begin by attaching the 7.5cm main gun. |
 |  |
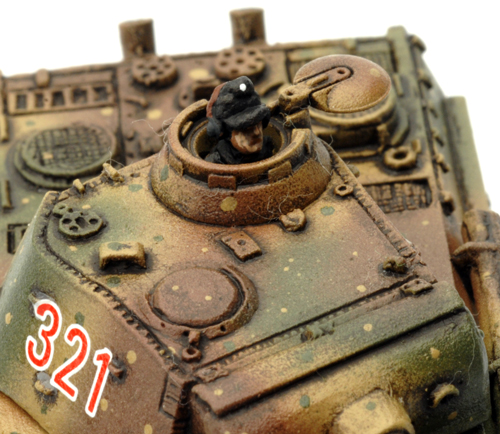
| Step 6. Then its time to add the cupola. | Step 7. Complete the cupola assembly by adding the hatch. |
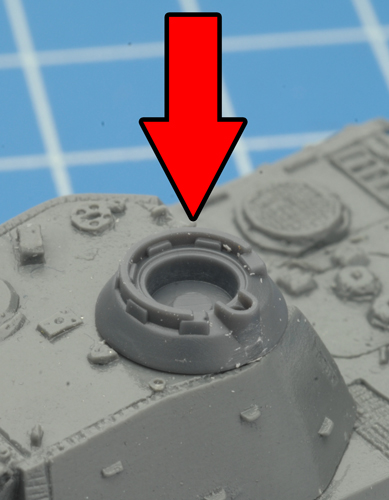 | 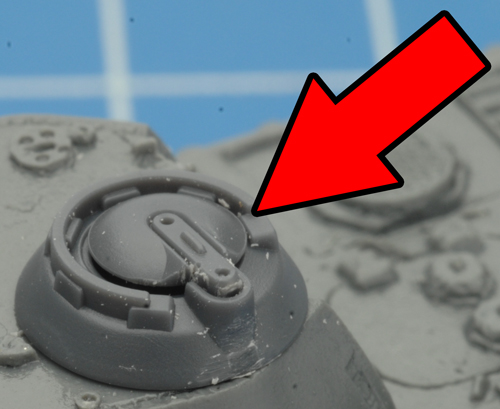 |
| Step 8. With the cupola in place, the Panther G is ready for painting. |
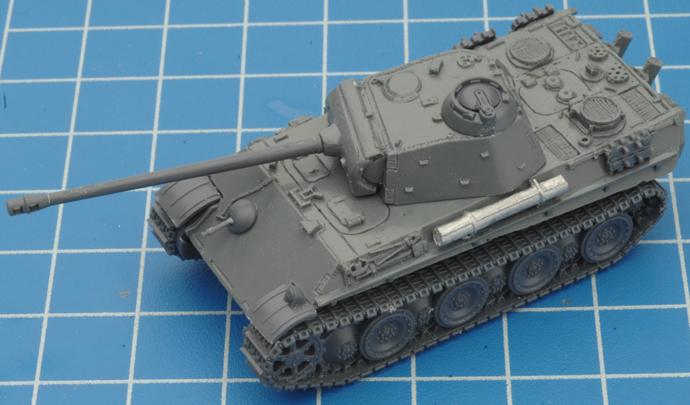 |
| Adding The Extras Tank Commander |
| Step 1. To add a tank commander simply attach the cupola hatch in an open position as shown below. | Step 2. Next, add a tank commander to the open cupola. |
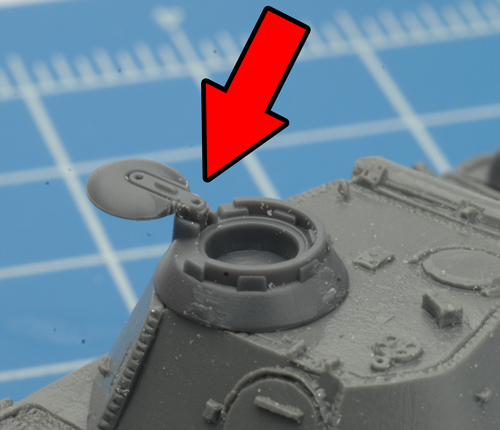 | 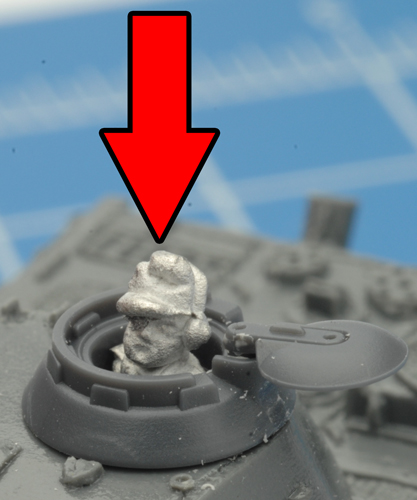 |
| Side Skirts and Spare Track LinksThe side skirts and track links are optional and can be added or left off to add some modelling variety to the platoon. As can the stowage sprues included in the box set. | |
| Below: The spare track links attach to the rear of the hull. | Below: The side skirts attach to the side of the hull. |
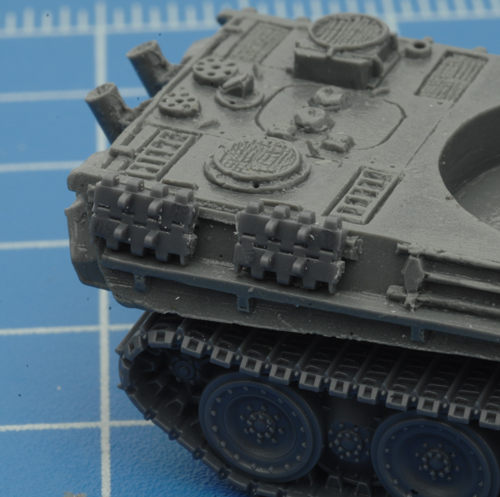 | 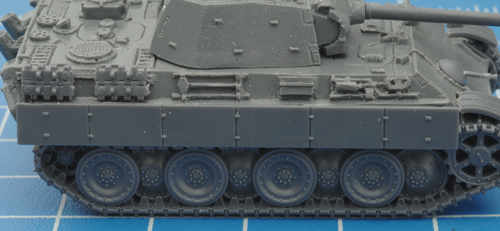 |
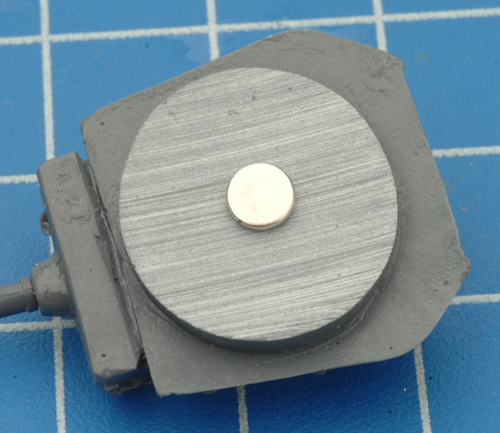
| Rare-Earth Magnets Evan has created a recess for a rare-earth magnet in the hull of Panther G. | |
| Step 1. The magnet recess complete with magnet. Read Chris' guide to Rare Earth Magnets here... | Step 2. Simply glue a rare earth magent to the bottom of the turret and you have a safe and secure way of attaching the turret to the hull. |
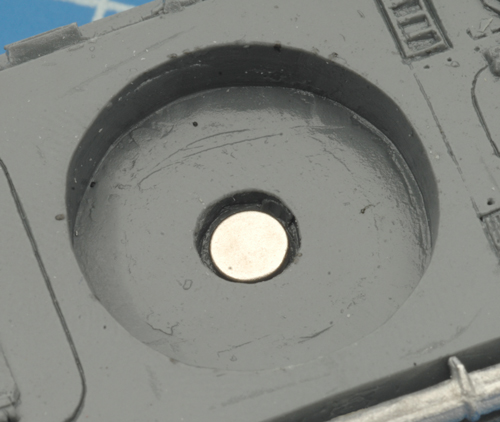 |  |

Ingen kommentarer:
Legg inn en kommentar