 |
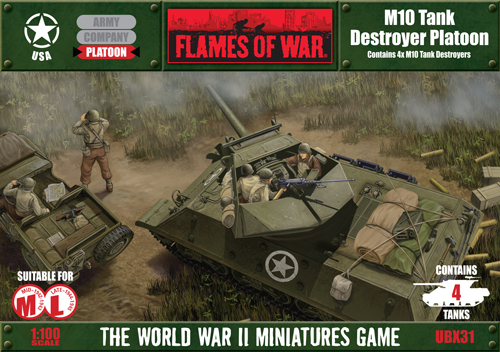
M10 Tank Destroyer Platoon (UBX31)
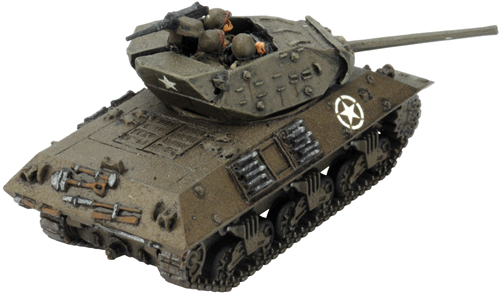
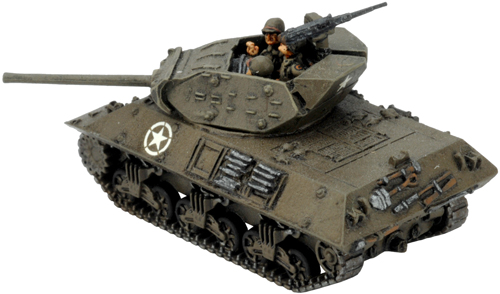
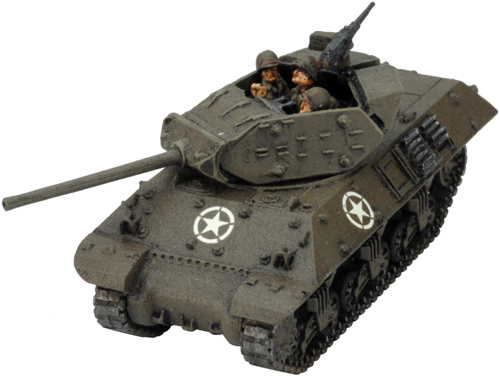
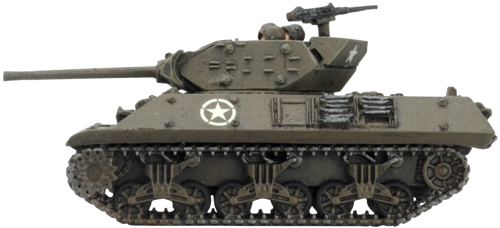
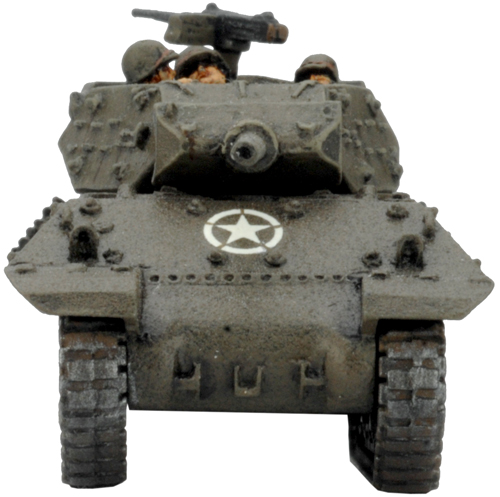
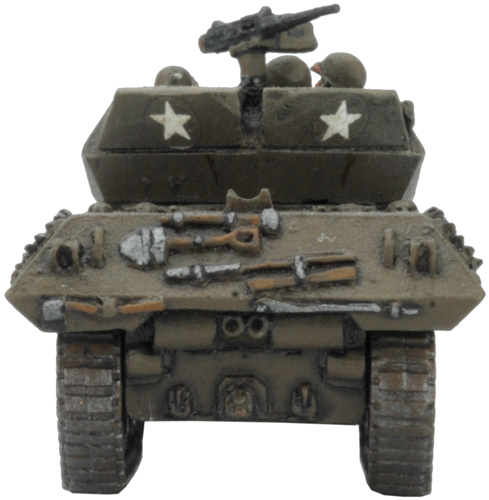
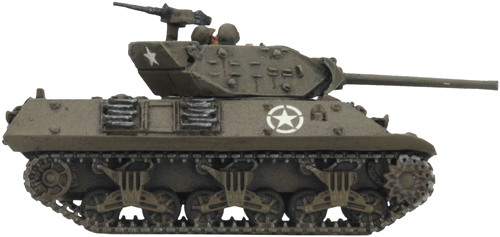
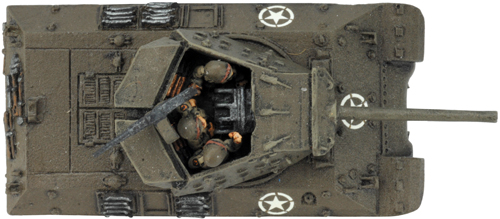
includes four M10 Tank Destroyers (with optional Duckbills & Top Armour upgrades) with crew and plastic parts sprue, two Tank Stowage sprues, one Decal sheet & eight Rare-earth magnets. The M10 3” GMC (gun motor carriage) tank destroyer was developed to handle medium and heavy German tanks. It was the first destroyer to incorporate a turret, which housed the 3” anti-tank gun, the best in the US arsenal at the time. Check out the M10 Tank Destroyer Platoon in the online store here... |
| Blood, Guts, & Glory It’s September 1944 and the Allies have stormed across France all along the front lines from Belgium to the French region of the Lorraine. Blood, Guts, & Glory covers the tanks battles in the Lorraine between September 1944 and January 1945. Learn more about Blood, Guts, & Glory here... |  |
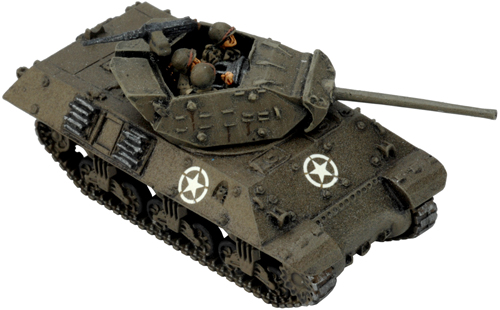
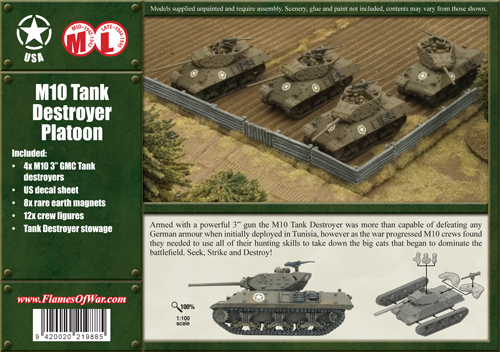 | The M10 soldiered on from the North African campaign to the end of the war. During that time crews made some field modifications to improve some of the vehicle’s major weaknesses, such as the open fighting compartment and the thin frontal armour, with overhead protection and improvised armour using sandbags. The M10s typically served infantry divisions, offering their guns to blast German pillboxes when not otherwise engaged with enemy tanks. Designed by Evan Allen Painted by Shelby Taylor |
 |  |
 |  |
| The M10 Tank Destroyer in Flames Of War |
| |||||||||||||||||||||||||||||||
 |  |
 |  |
| Slow Traverse Most tanks were either fitted with power traverse or had turrets that were light enough to be quickly swung by hand. Some designs suffered from heavy turrets lacking power traverse. Tanks with slow traverse add +1 to the score required to hit when shooting any turret-mounted weapon except an AA MG at targets that are entirely behind a line drawn across the front of the tank’s turret before they rotate their turret to face the target. |
 | 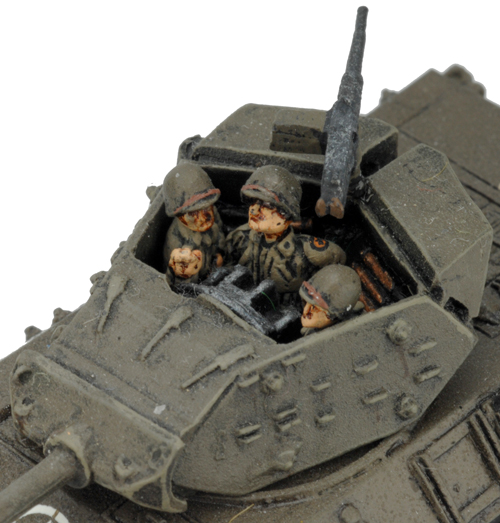 |
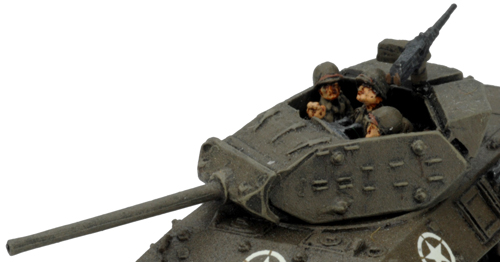
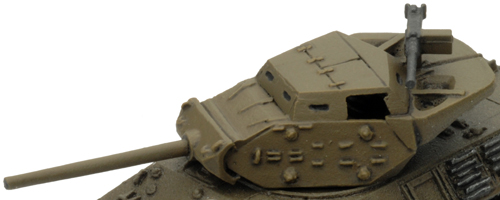
| The Turret Options |
 |  |  |
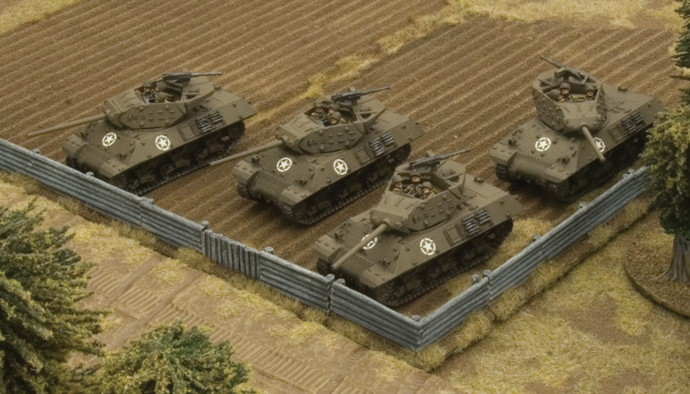
| The M10 Tank Destroyer Platoon Stalk Their Prey |
 |
| The Contents of the M10 Tank Destroyer Platoon Box Set |
| Contact the customer service team at customerservice@battlefront.co.nz if you have any issues with any of the components. |
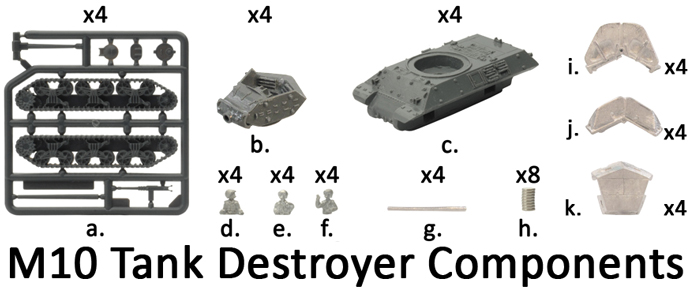 |
| Description of Components |
| a. 4x Plastic Sherman sprue. b. 4x Resin M10 turrets. c. 4x Resin M10 hulls. d. 4x Crew figure variant A. e. 4x Crew figure variant B. f. 4x Crew figure variant C. | g. 4x 3in gun barrels. h. 8x Rare earth magents. i. 4x Duck-bill turret counterweight. j. 4x Standard turret counterweight. k. 4x Improvised roof armour. |
| The Plastic Sherman Sprue The parts of the plastic Sherman sprue that are used when assembling the M10 tank destroyer are highlighted in green. Right: The highlighted parts of the plastic Sherman sprue used in the construction of the M10 tank destroyer. | 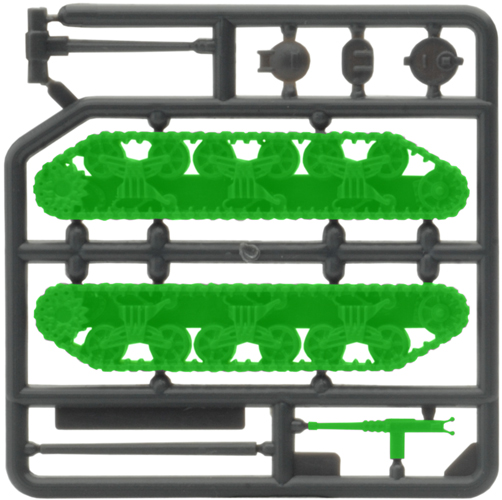 |
| The M10 Stowage |
| Learn how to use the M10 Stowage Sprues here... | Learn how to paint the M10 Stowage Sprues here... |
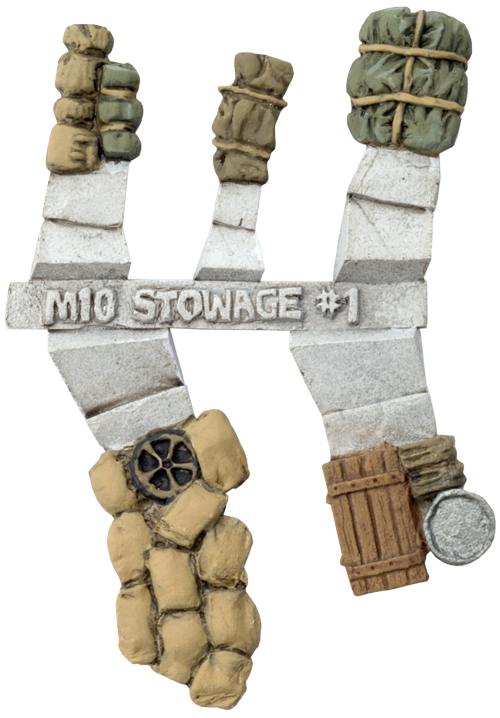 | 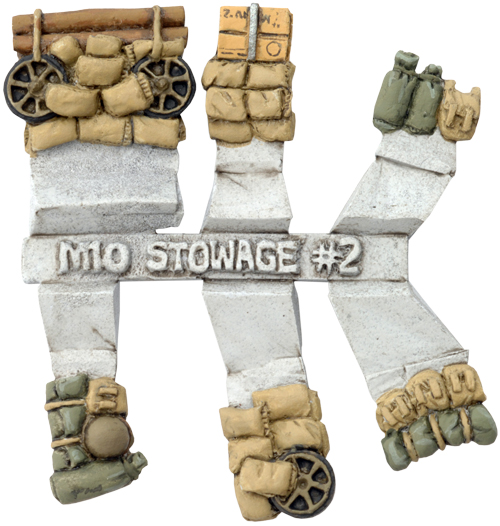 |
| Battlefront TV Basic Decal Guide Blake demonstrates the basics of applying decals.
Below: The decal sheet shown at 150%.
 |
| Assembling The M10 Tank Destroyer |
| Step 1. Begin assemble by attaching the tracks to the hull of the M10. Note: Each track has a number of lugs on the back that correspond with the recesses in the hull to aid in the correct alignment of the tracks. |
| Below: The correct alignment for the left-hand side track. | Below: The correct alignment for the right-hand side track. |
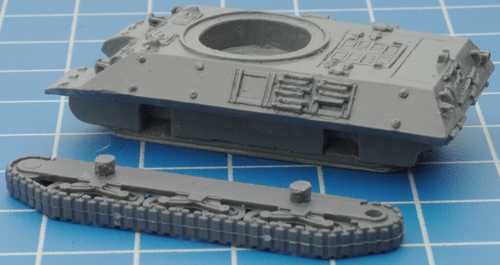 | 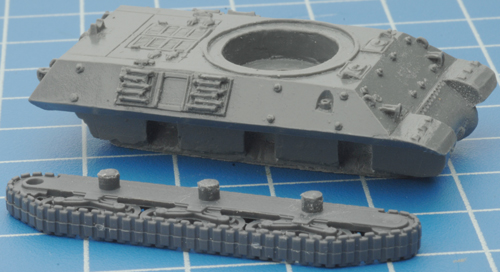 |
| Below: The left-hand side track attached to the M10 hull. | Below: The right-hand side track attached to the M10 hull. |
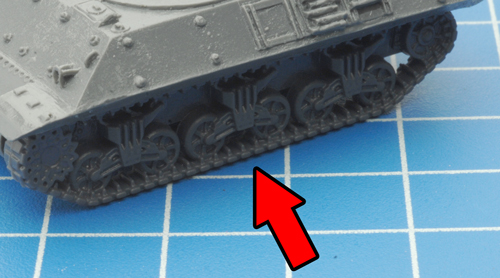 | 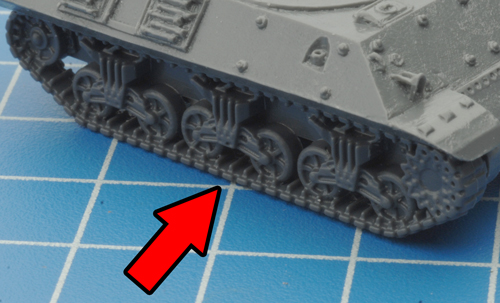 |
| Evan has created a recess for a rare earth magnet in the hull of the M10. Read Chris' guide to Rare Earth Magnets here for more tips and tricks... | |
| Below: The magnet recess complete with magnet. | Below: Simply glue a rare earth magent to the bottom of the turret and you have a safe and secure way of attaching the turret to the hull. |
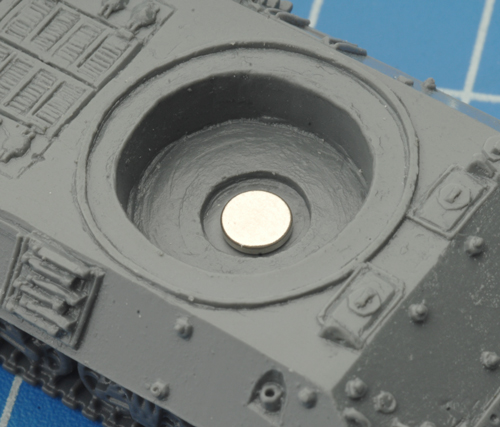 | 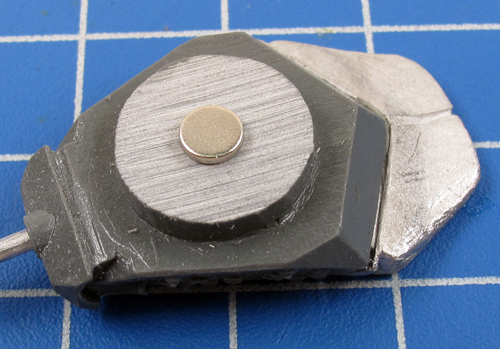 |
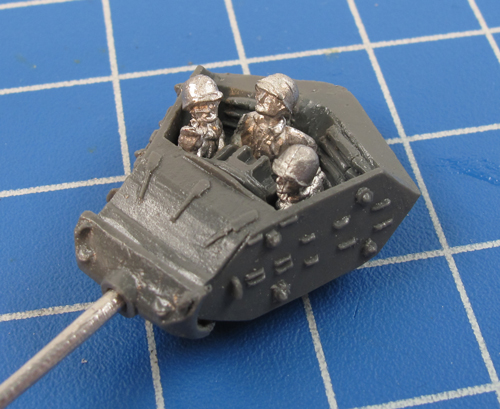
| Step 2. Next, attach the M7 3in gun barrel to the recess on the front of the turret. | Step 3. Inside the turret there are three round platforms to place the crew figures. On these three platforms arrange one figure of each crew variant (A, B, & C) inside the turret. | |
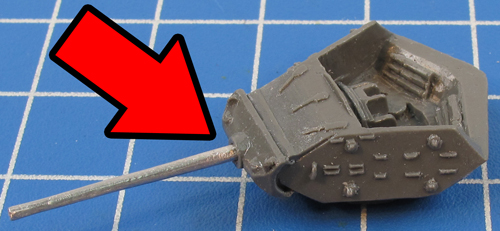 | 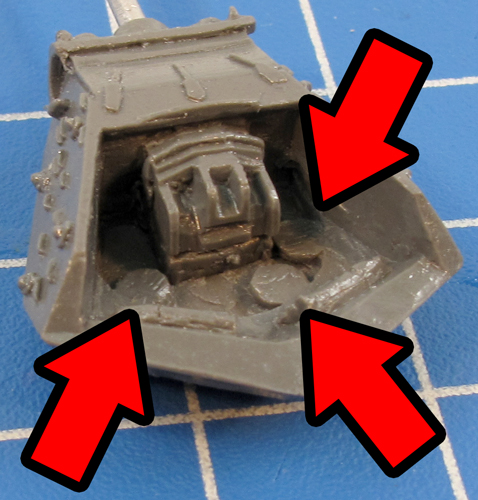 |  |
| Turret Options | ||
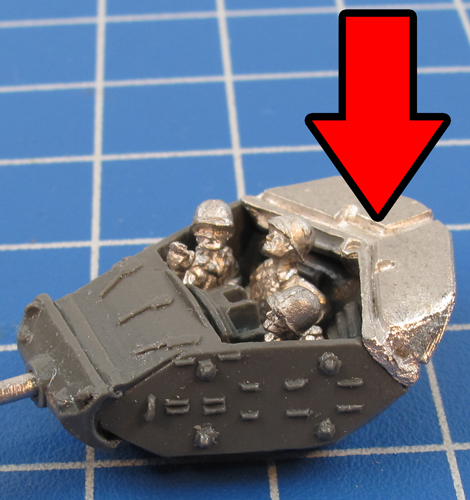
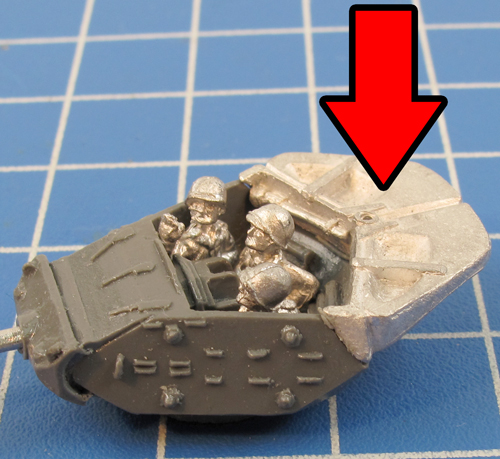
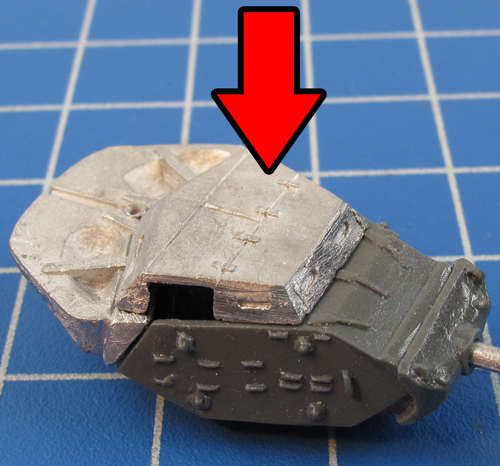
| Due to the size and weight of the M7 3in gun that armed the M10, the rear of the turret required a counterweight. The two triangular counterweights attached to the turret provided the 1600kg necessary to balance the turret. Later production runs of the M10 were provided with a Duck-bill counterweight and an increase in size of the fighting compartment. Due to its open turret design, the M10 was vulnerable to small arms fire when called upon to provide infantry support. To remedy this problem, an improvised armoured roof was created to help keep the crew safe from incoming fire. | ||
| Below: The standard counterweight. | Below: The Duck-bill counterweight. | Below: The Duck-bill counterweight and improvised armoured roof. |
 |  |  |
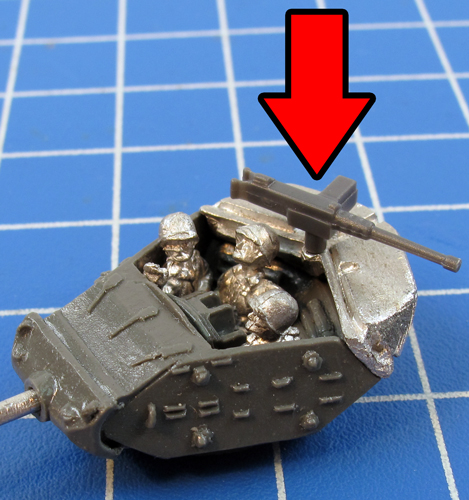
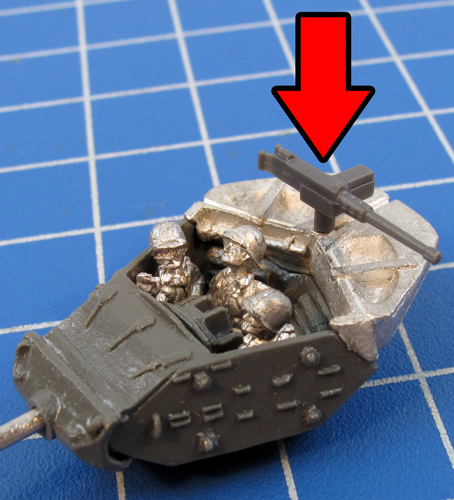
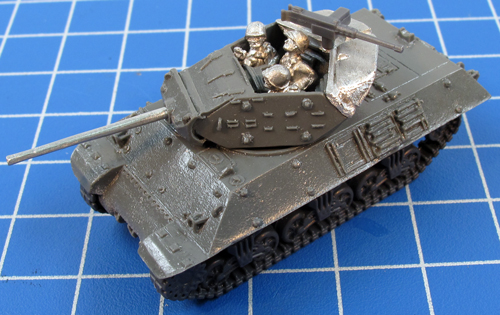
| Step 4. Then attach the .50cal AA MG to the rear of the turret using the recess in provided in the counterweight. | Step 5. With the .50cal AA Mg in place, the M10 tank destroyer is ready for painting. | |
 |  |  |

Ingen kommentarer:
Legg inn en kommentar