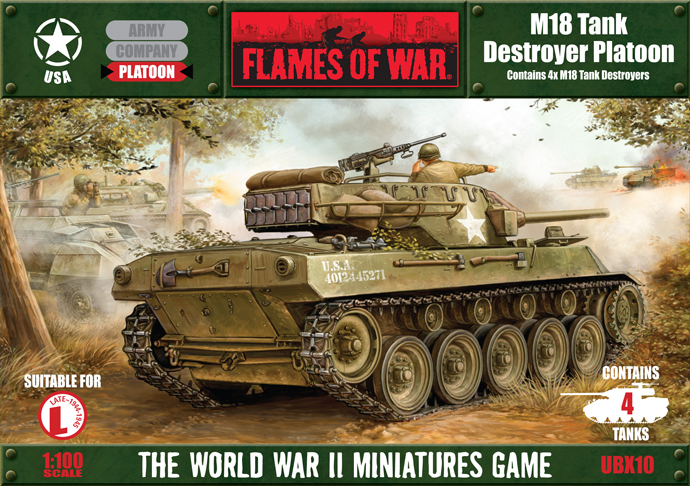
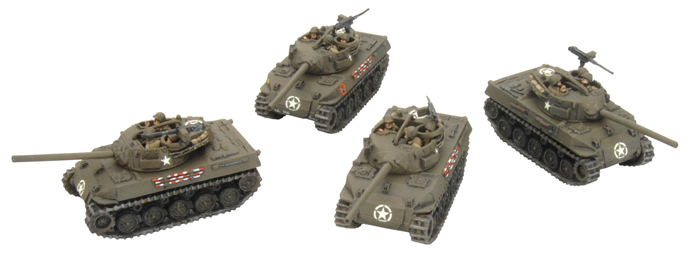
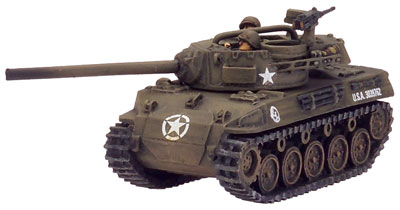
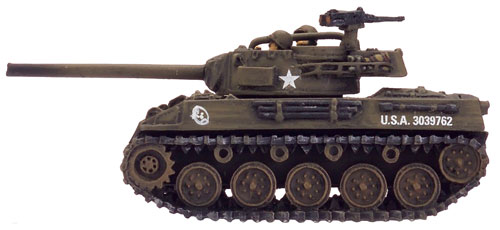
 | M18 Hellcat Tank Destroyer Platoon(UBX10) includes four M18 Hellcat GMCs, Tank Commanders, two Tank Destroyer Stowage sprues, one Decal sheet & eight Rare-earth magnets. The M18 was the final result of a rather long-winded development process for a fast lightweight Tank Destroyer. |
Initial inception (1941) called for a GMC mounting a 37mm gun on a Christie Suspension chassis (as found on the Soviet BT5, BT7 and T-34s and some British Cruisers), but as development went on the gun got more powerful.
It transformed through the M1 57mm, M1 75mm and finally the M1 76mm. The chassis was not untouched by this process; the Christie suspension was discarded in favour of a torsion bar system.
In 1942 the final development model, the T70 GMC was accepted. It was adopted and re-designated the M18 GMC and popularly nicknamed “Hellcat” and went into production in July 1943 at the Buick factory. | 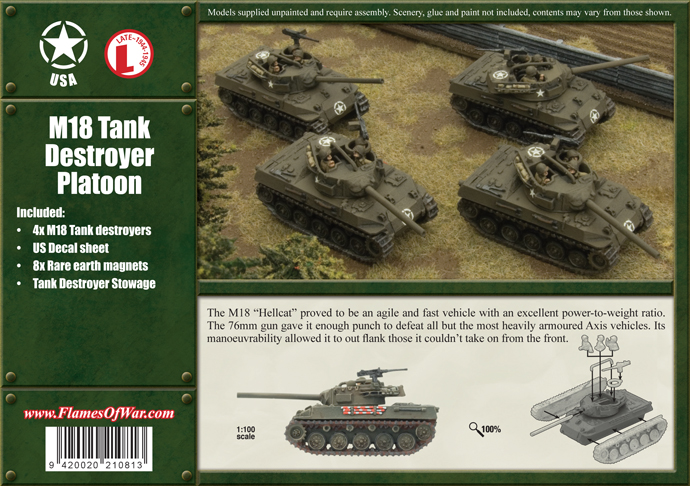 |
 |
It proved an agile and fast vehicle with an excellent power-to-weight ratio. The 76mm gun gave it enough punch to defeat all but the most heavily armoured Axis vehicles. Its manoeuvrability allowed it to out flank those it couldn’t take on frontally.
They saw service in both north-west Europe and Italy from 1944 utilising “hit and run” tactics with great success, losing relatively few vehicles in comparison to their kills.
|
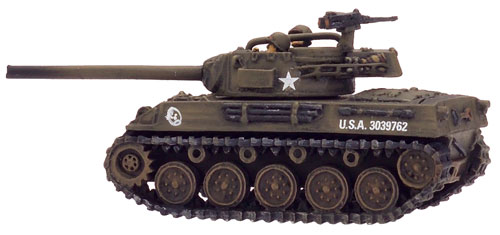
The M18 had a crew of 5 (commander, driver & 3 gunners) and weighed a mere 40,000lb (16.4 US tons, 14.9 metric Tonnes). It had a maximum speed of 50mph (80kph) and could travel cross-country at 20mph (32kph).
It carried 45 rounds of 76mm ammunition as well as a further 800 rounds for its .50cal AA machine-gun.
|  |
 |
The Hellcat in Flames of War
As you may have realised the M18 Hellcat is a fast, mobile and hard hitting Tank Destroyer, in Flames of War this is reflected in its abilities. The vehicle can move 16”/40cm cross-country, and is armed with an M1 76mm Anti-tank gun (ROF 2, AT 12, FP 3+).
Combined with its special Tank Destroyer rules which make it a lively and dangerous opponent.
|
So probe forward with your jeeps and M20s before revealing your M18s, try and get yourself into a position where your Hellcats can cause the most damage.
Ideally you want to be able to bring as much fire to bear without exposing your self to much retaliatory fire.
Tank Destroyer Security Section...The Hellcat is light and fast for a reason, it has very little armour (F2, S0, T0), so don’t expose it to too much enemy fire, remember you can always use its superior speed to pull out of range of enemy weapons. Designed by Evan Painted by Jeremy | 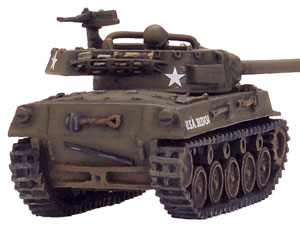 |
 |  |
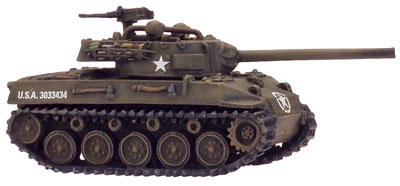 | 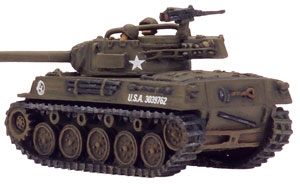 |
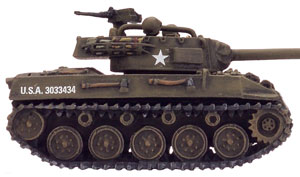 | 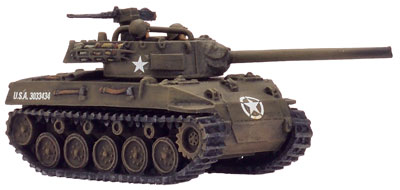 |
Description of Components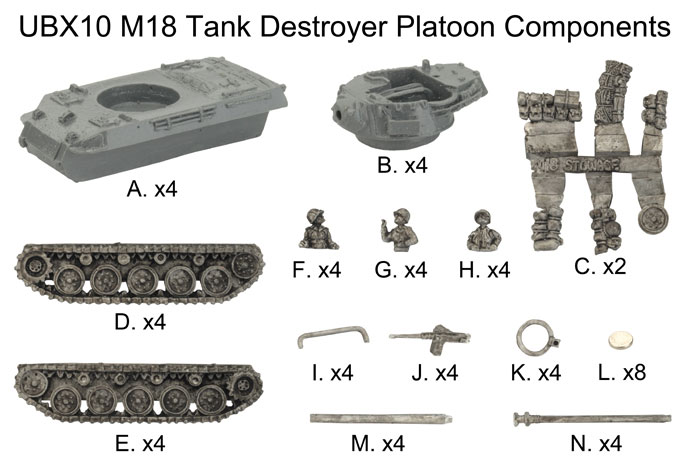 |
| a. 4x M18 Resin hulls. b. 4x M18 Resin turrets. c. 2x Stowage sprues. d. 4x Left tracks. e. 4x Right tracks. f. 4x Crew 1. g. 4x Crew 2. | h. 4x Crew 3. i. 4x Turret bar. j. 4x .50cal MG. k. 4x MG Mount. l. 8x Rare-earth magnets. m. 4x Barrels. n. 4x Muzzle brake barrels. |
Assembling The M18
|
Step 1. After cleaning up all the parts, you'll want to begin assembly by attaching the tracks to the sides of the hull. Use the markings inside the tracks to figure out which track goes on each side.
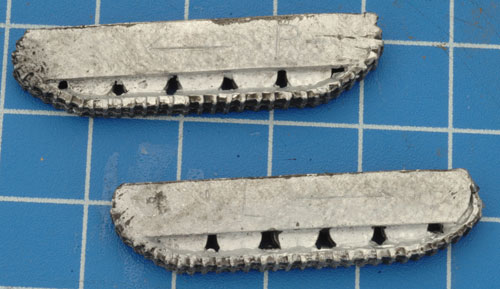 | Step 1. Continued... 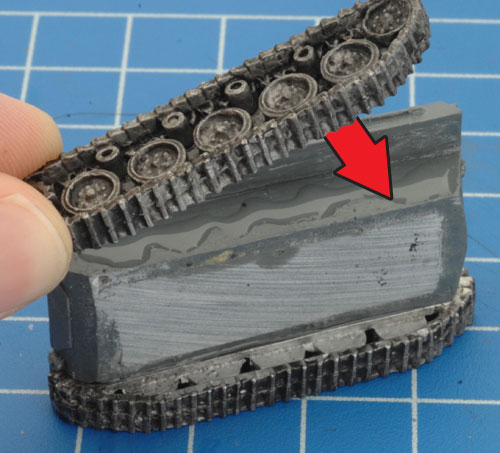 |
Step 1. Continued...
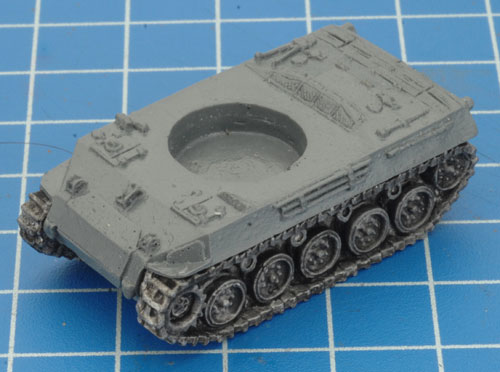 | Step 2. Next you'll need to choose which barrel to use. The standard is the barrel without the muzzle brake and the one with the muzzle brake starting being used around August 1944. I've chosen to go with the standard option this time.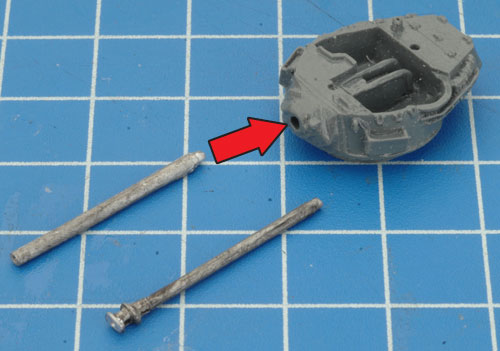 |
Step 2. Continue...
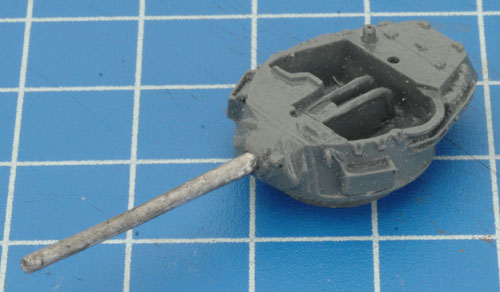 | Step 3. The crew can be arranged in various ways. I've chosen to place the crew member with his hand raised in first, into the right hand side of the turret.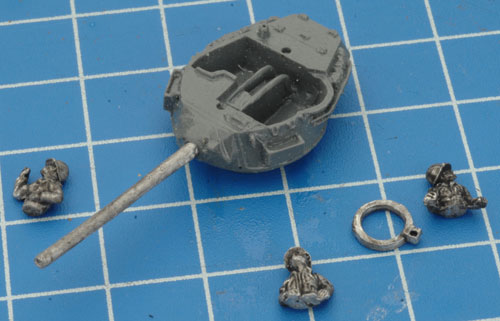 |
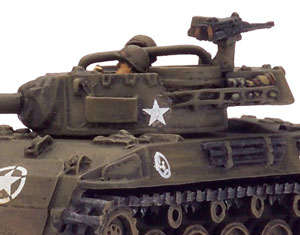
Step 4. Placing in the next 2 crew members is alittle trickier, and it's probably best to fit them at the same time. Make sure to center the rear crew members head in the space where the MG mount with go, and then attach the ring with a small amount of glue on the edge of the resin. This MG ring mount would spin so place the hole where you intend the MG to go.
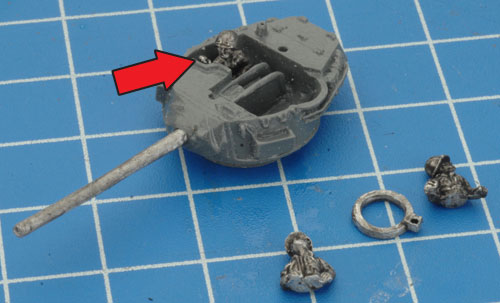 | Step 4. Continued...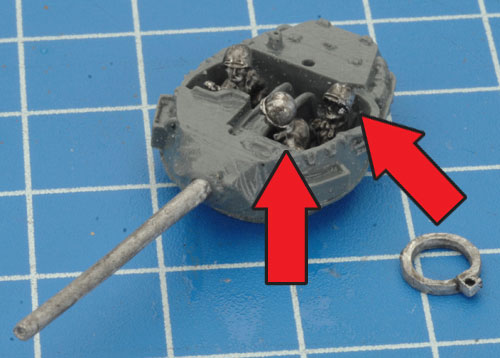 |
Step 4. Continued...
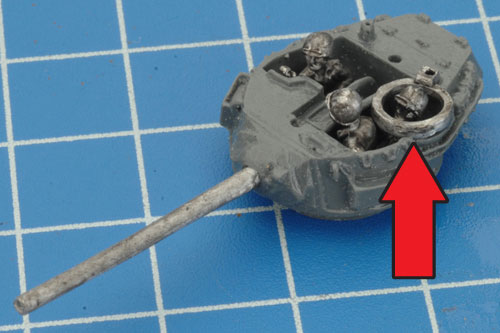 | Step 5. The final pieces to glue on are the bar across the middle on the turret, and the .50cal MG. Attach these as per the images, making sure to put the slightly longer end of the bar towards the rear of the turret. The MG can be at any angle you choose.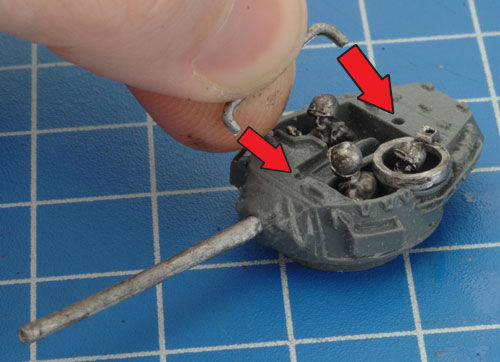 |
Step 5. Continued...
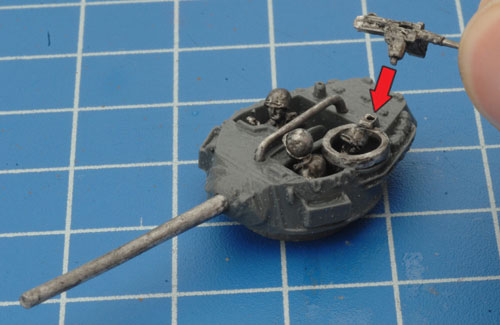 | Step 6. Now the finished tank destroyer is ready for painting!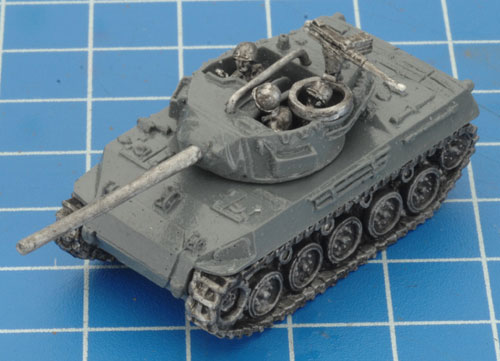 |

Ingen kommentarer:
Legg inn en kommentar